The big changes continue. With the paint completed, the next step is the flooring so the cabinets and systems can go in next. The original flooring was sheet Linoleum. Lino was chosen back then for its durability and ease to clean, and is the same reason we chose that material again. Today’s Linoleum is made by Forbo Flooring, and is called Marmoleum. We chose a color and pattern called #3163 Opera from the “RealAuthentic” line.
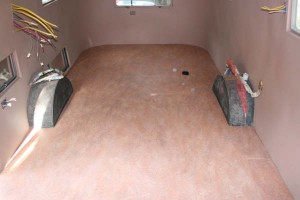
Preparation
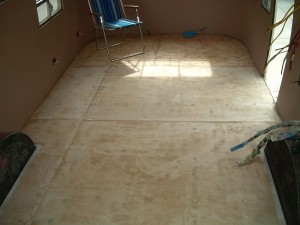
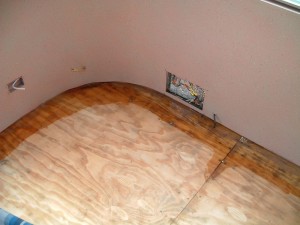
The Linoleum requires a perfectly flat and smooth surface. This required sanding the floor with a belt sander. The sanding removed the penetrating epoxy from the earlier floor replacement, so I felt it was important to restore, allowing it to flow under the C channel.
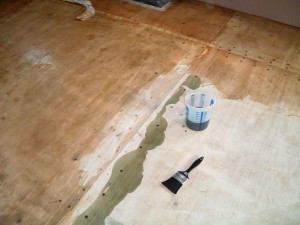
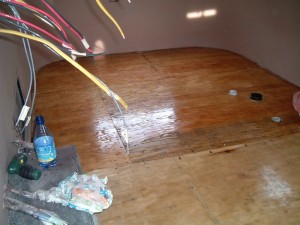
This time I used a 2 part polyester resin to seal the plywood from TAP Plastics. In addition to restoring the perimeter, I also flooded the center area too.
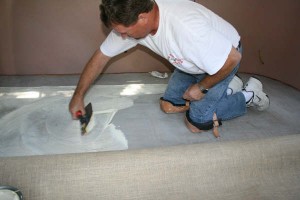
Steve McInturf, the Linoleum installer, applies the 2 coats of floor leveler, sanding each time.
Installation
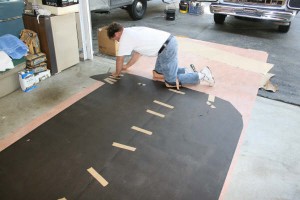
Steve makes a template and cuts the Lino sheet from the standard 6.5′ wide roll
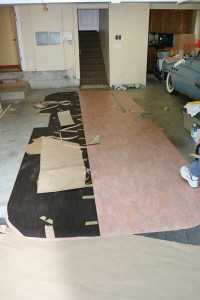
The seam is placed under the streetside cabinets.
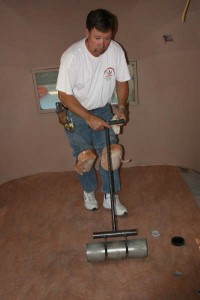
Steve used a 100# roller to secure the floor to the sheet using the Marmoleum adhesive. The waste tank fittings are seen to his left.
Finished
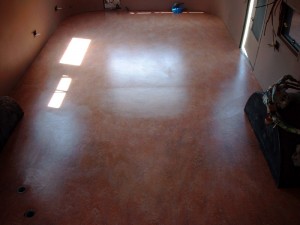
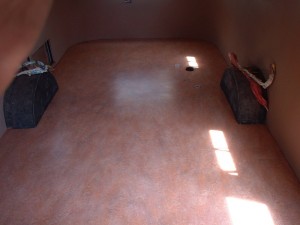
The finished installation is warm and rich looking. Too bad much of it gets covered by the cabinets – the next phase.
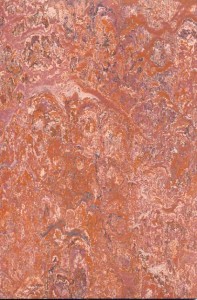
Here is what the pattern looks like up close. There are 3 other colors in this same design.
If you are in the SF Bay Area and need flooring, I’d recommend Steve McInturf at 925-944-5396


