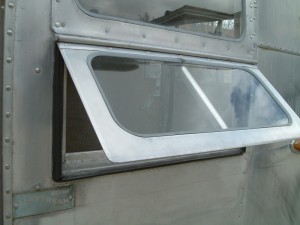
Windows
After 45+ years, expect the windows to be fully dysfunctional. Rebuilding them is one of the most important things you will do to a trailer, as it is imperative to prevent rain and critters from getting inside once you start on the interior, and since most windows won’t open, it is hard to get any ventilation until repairs are made. Here are the typical steps I used to repair the windows.
Before
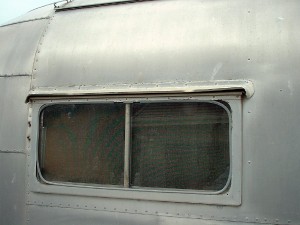
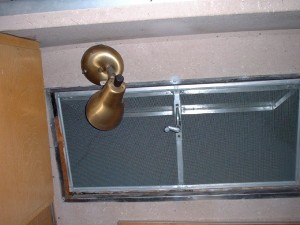
Bent drip caps & dried out glazing seals
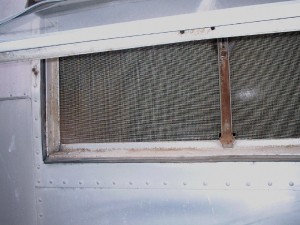
Corroded & rusty frames and screen
After
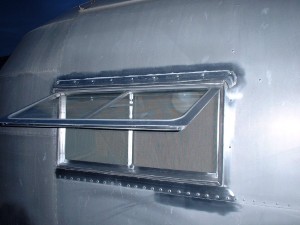
Post renovation – ready to trim the drip cap sealant
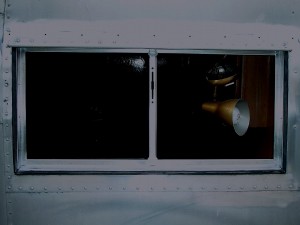
Cleaned & polished frames, new screen and seals
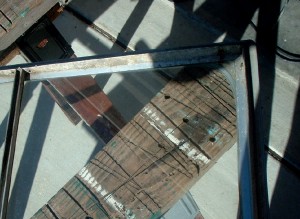
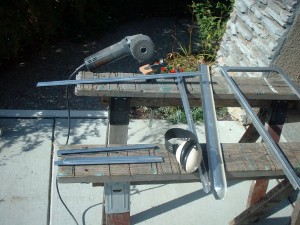
Removing the corrosion from the window parts can be done with steel wool, but a Walter Finishing Line Tool is the way to go.
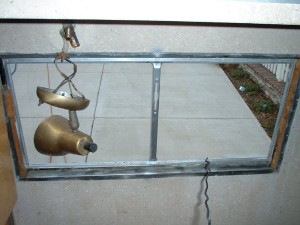
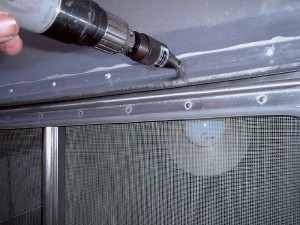
After removing the rust, spray painted the center support. It is a good idea to remove the the inner wind opening trim to clean up and to allow better access to replace the screens.
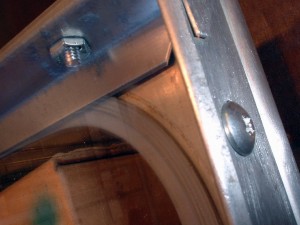
Rusted fasteners are replaced with new 6-32 Palnuts (original) and pan head screws (Vintage Trailer Supply.)
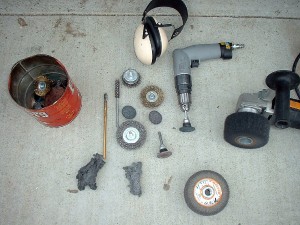
Tools of the trade – the Walter Line Finishing Tool, air drill motor with Scotch Brite disks, steel wool and various wire and abrasive wheels.
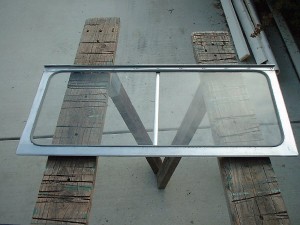
Completed window with the new glazing seal from Vintage Trailer Supply.
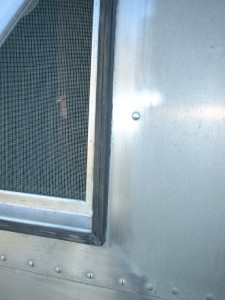
The exterior window seal is riveted in place, and is available from Vintage Trailer Supply. It is advisable to replace this seal only if they are torn or crumbling. See below for how to do it.
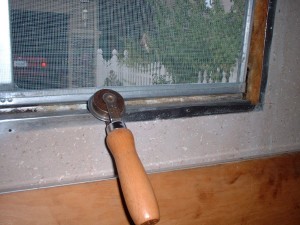
New galvanized steel screen (VintageTrailer Supply ) is cut 3/4″ longer than the oust side of the screen V- flange, then installed using a screen roller tool (VintageTrailerSupply). This shows why the inner trim needs to be removed. The easiest way to replace the screens is to remove the entire window by drilling out all the rivets under the exterior seal, but would be a lot of work.
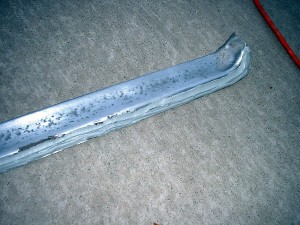
A broad row of Vulkem sealant is applied to the straightened & cleaned drip cap. The bent drip caps are easily straightened once they are removed from the trailer using flat nosed pliers.
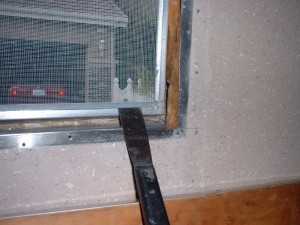
Any tail of the screen is tucked over and re-rolled with the screen roller tool.
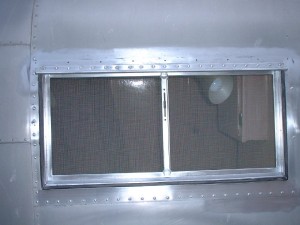
The screen installed and the corrosion removed & ready for the window and drip cap install.
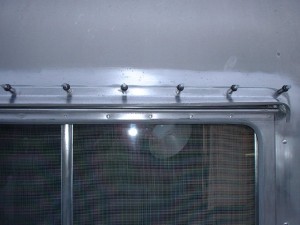
Clecos temporarily hold the drip cap in place.
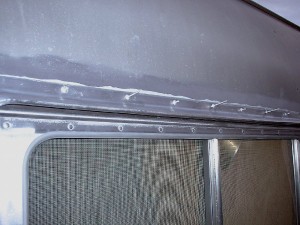
Olympic Rivets (Vintage Trailer Supply) being installed
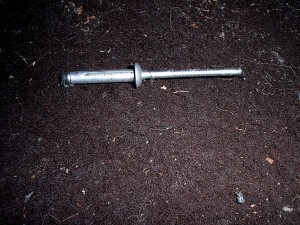
An Olympic Rivet. Installed using a normal pop-rivet puller, and shaved with a drill mounted shaver. (Vintage Trailer Supply)
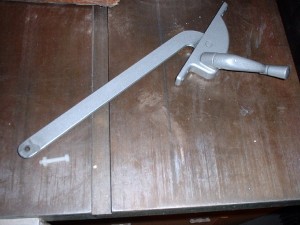
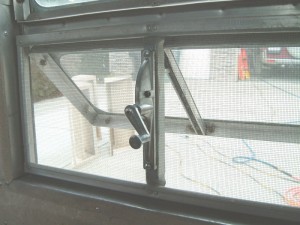
Both front/back and the side window style openers are available from Vintage Trailer Supply or BlaineWindow (use part # 00020-9-TD-L(R)-037 and drill out the end guide). For smaller windows, you can use the 6 inch 00020-6-L(R)-037 from Blaine or the smaller operator available from VTS.
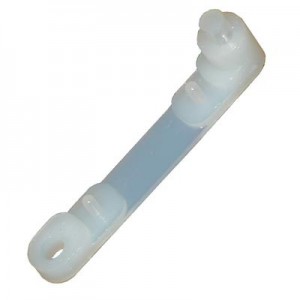
Replacement sliders are from Vintage Trailer Supply
Other windows
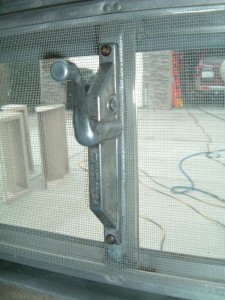
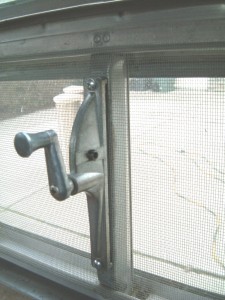
The little side vent window opener that strips out due to weak pot metal gearing. These require a special short arm opener that is available as a replacement (shown above right) from Vintage Trailer Supply. They also use the replacement Nylon Friction Pad.
The rear “Escape Style” window. The window has a hinged frame, released by the two latches on the bottom, and swings up for escape. The latch hooks used on all these windows are still available from Vintage Trailer Supply.
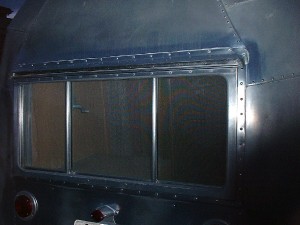
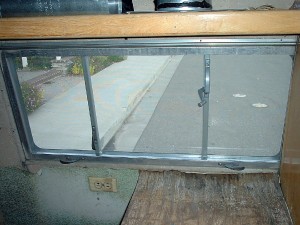
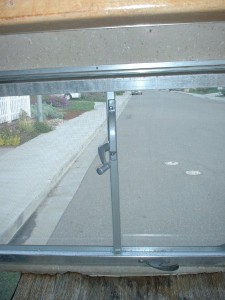
The opener here shown is a LH teardrop style available from Blaine Window (see above). The smaller generic replacements will not work on the large forward and back windows.
Window Frame Seals
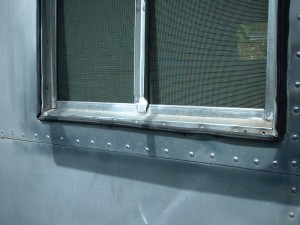
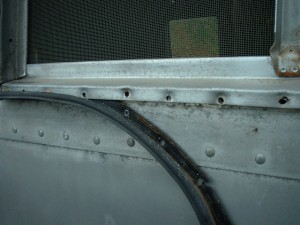
After 50 years, the bulb seals have hardened up. As it takes drilling out the rivets and removing the window assembly, it is a good idea to only replace those that need it, usually the bottom seals or torn and damaged seals.
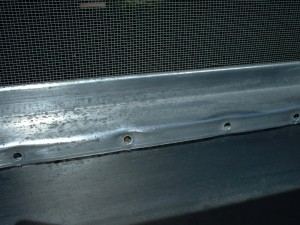
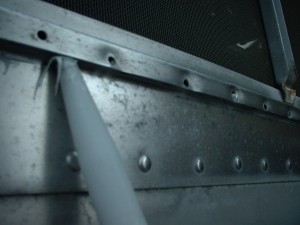
Shoot Vulkem up under the window and the skin of the trailer.
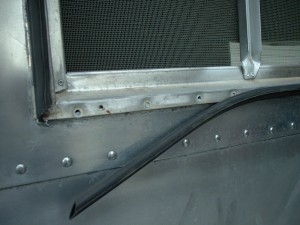
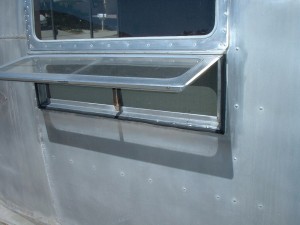
The seal is from Vintage Trailer Supply, and is attached with Olympic Rivets. The corners are sealed with black silicone sealant (hardware store item).


