Installing New Holding Tanks
1956 trailers did not have any gray water holding tanks, and usually just a small 7 gal flat bottomed galvanized black water tank, which was found in our trailer to be in its usual state of a rusted out mess. Going in are 32 gal worth of ABS gray water tanks, suspended from the frame just aft of the axle, and a 16 gal black tank inboard of the toilet, also suspended from the frame. They are state of the art with built in rinse nozzles and probeless digital level sensing (See-Level). They are designed to be just below the final axle level for clearance, and with a robust and serviceable dump valve mechanism.
Preparation
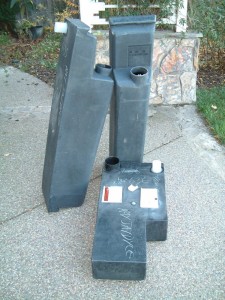
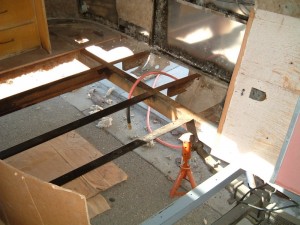
The tanks arrive! They were purchased from Inca Plastics. 2 qty H345 16 gal each (34 gal net). The smaller H636 black water tank is in the foreground that I soon replaced with another H345. On the right is where the two gray water tanks will go between the longitudinal floor beams and the lateral floor supports, just aft of the axle (below the gray primed floor support), flush with the floor bottom. The gray tanks will suspend below the belly skin by 7″, but with the 2″ gain from the axle change, are still 11″ off the ground at their lowest point. The Black tank will be aft of them in the next bay.
Existing Black Tank
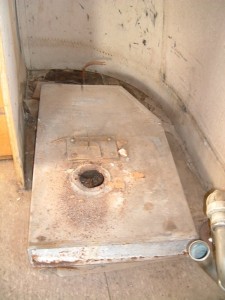
The rusted out black tank. They are hardly ever salvable. The flat shallow design, necessitated by the floor frame and outriggers running under the floor. As such, the usable volume of the tank is very limited. Dumping action was accomplished by pulling up on a chain that attached to a vertical plunger (seen behind the hole above), opening up a hole in the bottom of the tank that went down and out a straight section of pipe.
Frame Modifications
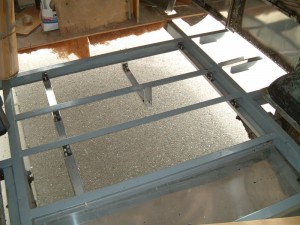
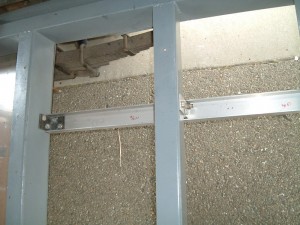
On the left is the framework to support the tanks. The weight is centered on the aft support of the axle leave spring, and is distributed across 4 frames. On the right is a typical attachment of the 3×1 aluminum channel with the 2″steel angles.
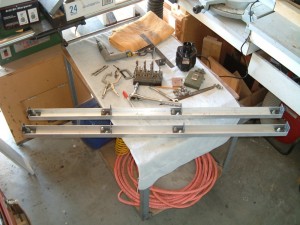
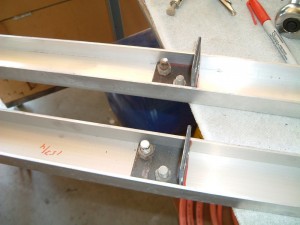
These are the two long channel supports all drilled up and ready to install, The steel angles are cut from 2″ steel angle iron, attached with 3/8″ galvanized bolts. Materials came from MetalsDepot.
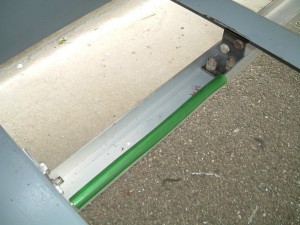
On the left is the rubber tubing used to cushion the lip in the gray tanks.
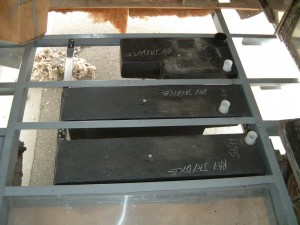
All installed and ready for the floor. The tops are flush with the top of the frames. Note: I replaced the smaller black tank after this picture was taken with another H345 16 gallon tank as I was not happy with the bottom outlet configuration and capacity. The white vent fittings will align later with the walls.

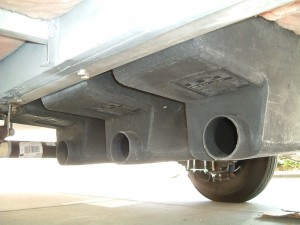
The tanks viewed from the bottom ready for the ABS fittings and valves, the RH (aft) tank is the black, and the two LH (fwd) tanks are the interconnected Gray water tanks. There is a full 11″ of clearance from the lowest point, more than even a modern Airstream.
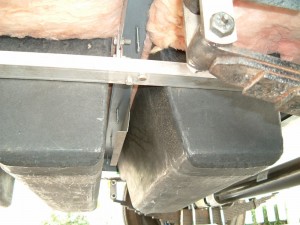
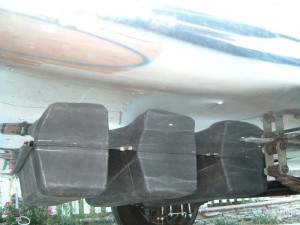
From the curbside before and after the belly skin. Push-on bulb type edge seal fills the gap between the belly skin and between tank filler strips and the tank sides, providing a weathertight and vermin free seal. It also protects the tanks from chafing.
Rinse System
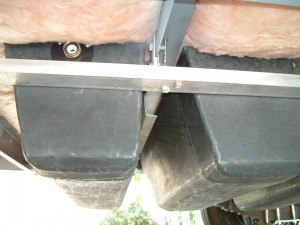
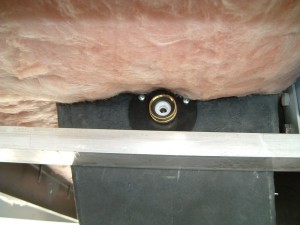
The CAMCO Quickie Flush rinse nozzle installed in the black water tank. A hose will connect it over to a female hose bib mounted by the flush valves (see below).
Dump Valves & Level Sensing System
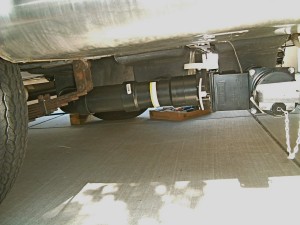
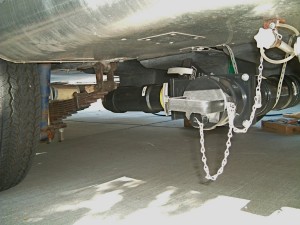
To the tank outlets were attached 3″ ABS DWV fittings and pipe. The two gray tanks plumbed to each other, followed by a Valterra dump valve upstream of the waste tank outlet, which is then a straight shot to the side of the trailer where there is another dump valve and the sewer hose fitting. The design concept allows the black to be dumped, followed by the relatively cleaner gray tanks to help rinse out the lines and hose.
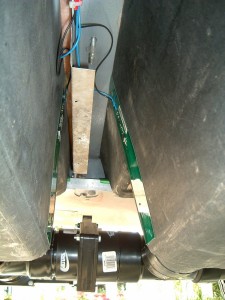
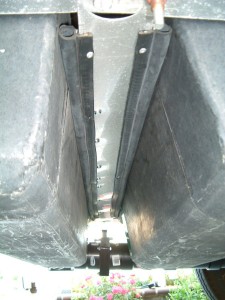
Onto the sides of the black and the aft gray tank are the capacitive sending units for the See-Level tank level sensing system. These wires then run up to the control panel in the closet. On the right is a between tank filler strip installed. The bulb seal keeps it from damaging the sending unit.
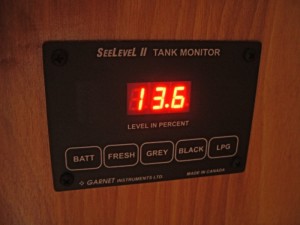
The See-Level is really an accurate and easy to install system, plus with the senders on the out side of the tank, no buildup or clogging. The control panel only draws power temporarily after a button is selected (here it is showing battery voltage).


