Hydraulic to Electric Brake Conversion
Electric brakes have been on travel trailers since the 1940’s. For some reason in the mid 1950’s to early 1960’s, hydraulically actuated brakes where offered as an option on Airstreams and other trailers of the era as a “safety feature”. We now spend our time and money converting these maintenance monsters. Here’s how I did ours.
Update 8/1/06. After the unexpected axle break on the Caravel, I’ve decided that even after all this work, I am going to replace the entire axle with an Axis axle (see restoration section). Even though the axle looks sound, the forgings used 50 years ago have weakened to the point they can break at any time, and while going down the road at 60MPH is not the time for it to happen, let alone what it will do to your travel plans. Plus, the extra 2 1/2″ lift I got from the new axle put the trailer at a height more common with today’s tow vehicles compared to 1950’s automobiles.
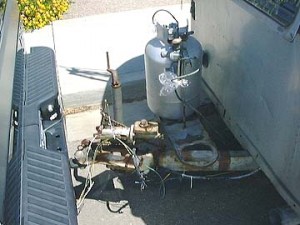
The Stromberg Slave Brake Controller. I cleaned it up and will leave it as a conversation piece, The male coupler hooked into the front and was connected to the tow-vehicle brake lines. When the brake pedal was depressed, it extended a plunger that compressed a cylinder in the unit, actuating pistons in the trailer brakes.
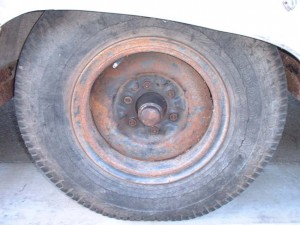
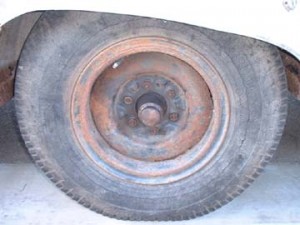
The original split-rim wheels and 1970’s era 7.00×15 tires. Enlarge and check out the cracks. They did make the 70 mile trip home though.
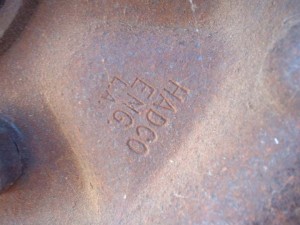
The Hydraulic brake axle, including the wheels, was all manufactured by HADCO Engineering of Los Angeles, CA
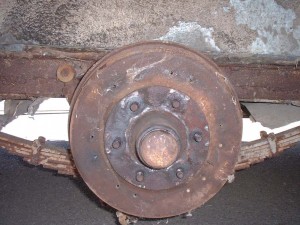
On to the conversion. I first had to clear my “lady friends” from the area (Black Widow spiders). The wheel comes off exposing the old hub and spindle dust cap.
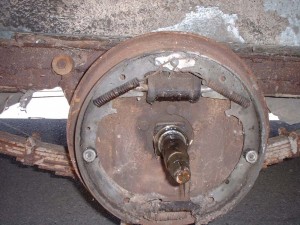
The hub comes off by removing the spindle nut under the dust cap, Here is the old Stromberg brake assy with the hydraulic piston.
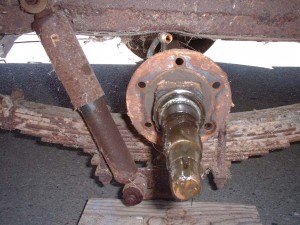
The backing plate comes off with the 5 bolts. The old brake line can be seen, as well as the 30 year old shocks.
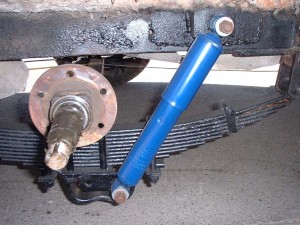
A lot of work needs to be done to the axle assy now. I sandblasted the whole thing and painted it, and installed new Monroe 33033 shocks. The “W” shaped thing at the bottom is an axle skid for for flat tire events.
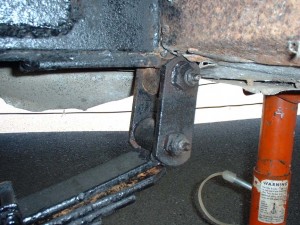
It is very important to lube the links, removing them if necessary to get them to take grease. Lube them every chance you get for awhile to insure grease gets all through the shackle pin mating surfaces, and then once a year thereafter.
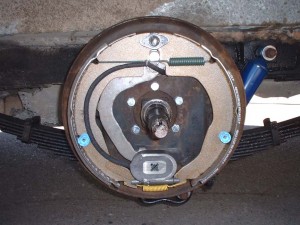
The modified backing plates reinstalled. Click here to see the conversion process. Modern loaded backing plates can’t be used, as the HADCO hub is a different diameter and shape than conventional hubs. This is a left-hand brake – you can tell by the magnet arm on your LEFT. This is very important.
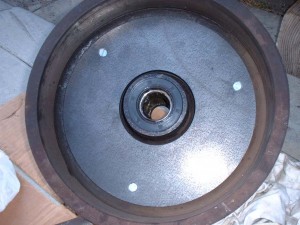
The hub gets an armature plate bolted into the inside using existing holes. The brake magnet rides against this. When the brakes are energized, the drag actuates the linkage, spreading apart the brake shoes against the outer diameter of the hub. You can see the new 3M inner grease seal, replacing the original felt seals.
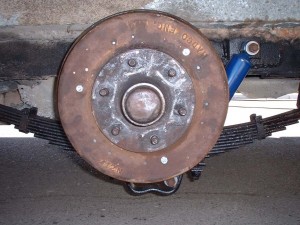
The bearings repacked with grease. Champion Tire has a good website article on packing bearings. The hub and the dust cap go back on.
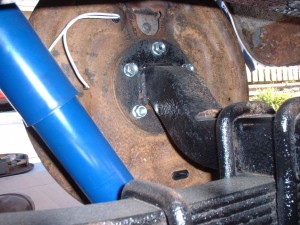
A backside view of the hub with the brake wires to the left. The brake adjusting slot is lower center. Rubber covered 2 conductor wire follows the patch of the old brake line inside the belly skin up to the harness splice point aft of the A-frame tongue.
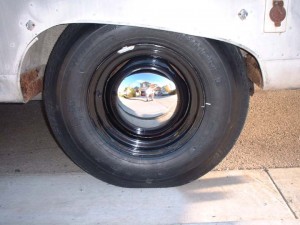
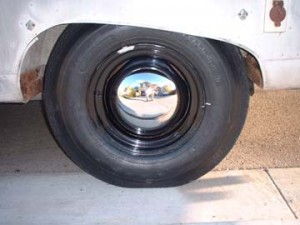
The finished product with the new Dexter rim and matching Moon hubcap, looking very much like the original. Kind of too bad I ended up throwing the whole thing away, huh! I kept this section in case someone else could use the information.
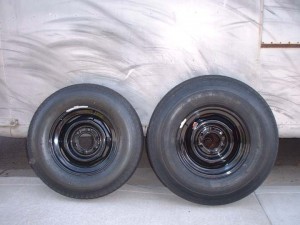
All 15 inch tires are not the same! These are both 15″ Dexter rims. On the right is a Goodyear Workhorse 7.00×15 bias ply tire. On the left is an H78-15 bias ply tire. A 225/70-R15 radial falls somewhere in between. I am using the tire on the left as my spare, as it takes less room in the under-bed storage compartment.


