Thetford Brass Dump Valve
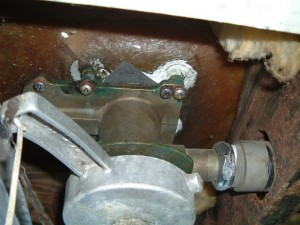
Courtesy of Colin Hyde from GSM Vehicles, here is how to replace the old dump valve assembly that was found on ~1959 – ~1964 Airstreams. This valve frequently leaks, and the old style sewer hose fittings aren’t available anymore.
- Remove the old valve assembly completely right back to the brass casting imbedded into the fiberglass.
- Fabricate an aluminum adapter plate out of 1/2” thick 6061 T6 plate. The adapter is about about 4 1/2” square, with a hole in the center the same size as the exit hole coming out of the tank.
- Drill & countersink four holes 1/4” dia to suit the bolt pattern of the brass casting on the tank.
- Drill & tap four holes 1/4-20 to match the modern Valterra black tank valve bolt hole centers into the plate, but slightly offset from the countersunk ones.
- Coat the brass tank casting with silicone around the sealing surface before fitting the plate.
- Use stainless steel counter sunk 1/4-20 machine screws to attach the plate to the tank casting.
- The 1/4-20 bolts that come with the Valterra assembly are used to fasten the assembly to the plate, along with silicone on the mating surfaces.
- As Airstreams have very low ground clearances (especially the early ones) compared to modern Airstreams and white boxes, use the shortest Valterra “T” manifold that has an inlet fitting for the larger black valve at the top and the smaller gray valve on the side, along with the bayonet fitting for the stinky slinky on the bottom.
- As the modern assemblies only have one gray inlet & the vintage brass valve assembly had two, you will have to add a “Y” in PVC before the two gray lines actually gets to the manifold assembly. This is pretty easy to do from parts available from any box store plumbing department.
The end of this whole assembly ends up very close to the original brass fitting height & allows you to use modern slinky bayonet fittings.
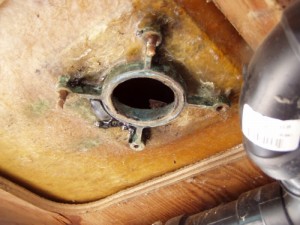
The old valve is removed , including the studs from the threaded inserts
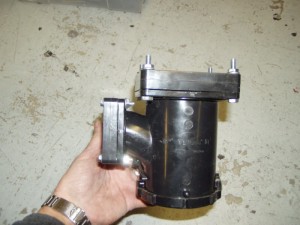
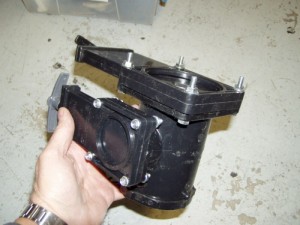
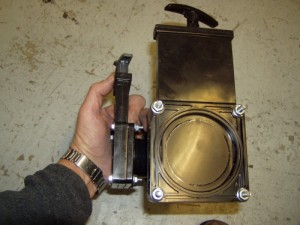
Valterra body fitting bolted to the 2 valves, and the sewer hose fitting (and cap) on the bottom. The nuts holding the large valve to the top are temporary, and are replaced by the adapter plate later on.
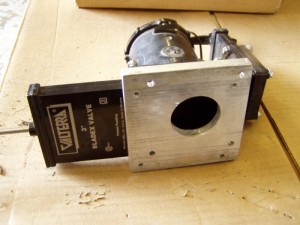
The adapter plate made from 1/2″ aluminum. The threaded valve screw holes are lower and left, the 4 countersunk holes that mount the adapter body to the tank are above and right.
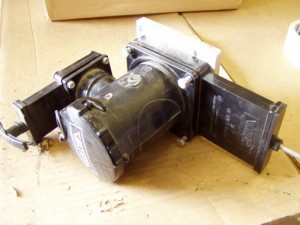
The smaller gray water valve can be pointed in any convenient direction The Valterra 1/4-20 bolts will be tightened up into the threaded holes once the adapter body is attached to the tank using the countersunk Stainless Steel screws.
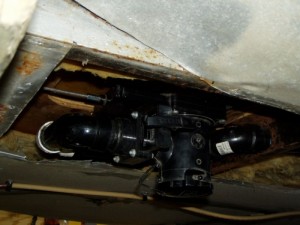
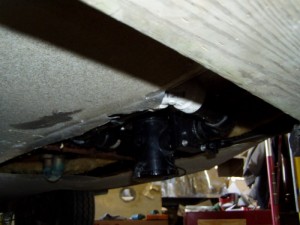
Installed in palce with the two gray water lines T’d into the small valve


