Interior Cabinets – Bathroom
The work began with the most complex section, back in the bathroom that must surround all the plumbing and inlets down into the black and gray water tanks.
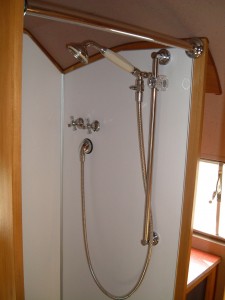
Old Cabinets
A reminder of what the old bath layout was:
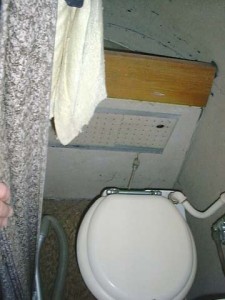
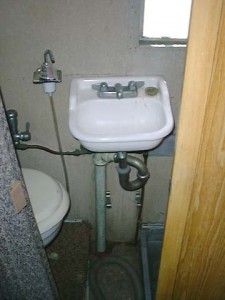
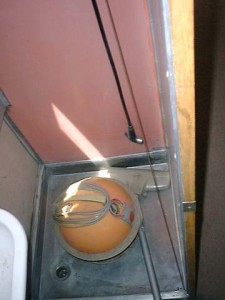
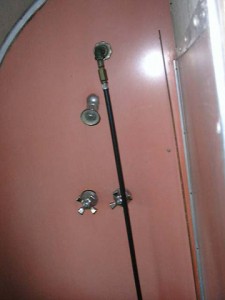
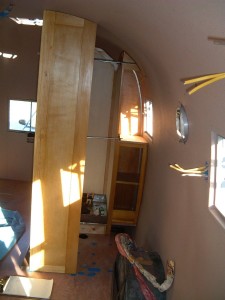
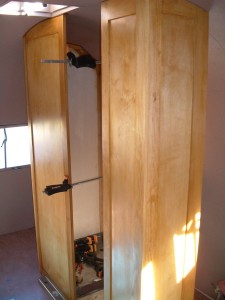
The walls here are built using the same construction methods as original – birch 3/8″ plywood dadoed into 1x face frames as this makes a free standing wall with a flat surface on the inside for the shower walls. You will notice throughout all the pictures, small squares of blue tape on the floor. I spent 1 week just laying out the floor plan, measuring, mocking up and working with the plan until I was satisfied. This little bit of up-front work made the whole follow-on installation go much smoother.
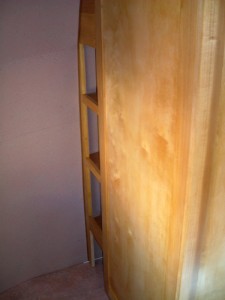
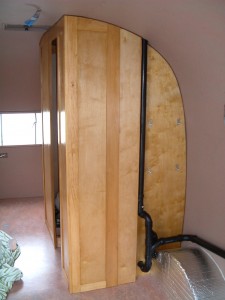
The backside of the bath wall is the forward side of the aft lateral bed, and in the space outboard of the shower walls I put in a bookcase. The forward face of the bathroom. The water heater will mount on the outboard section. The panel sections screw down into the floor and are bolted and screwed to each other, and then aluminum angle brackets are used at the top to attach to the ceiling only where necessary. If you secured everything to the walls, the flexing would soon destroy the cabinets.
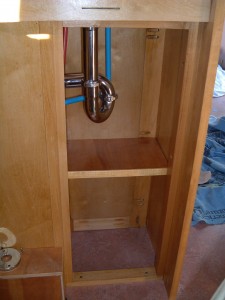
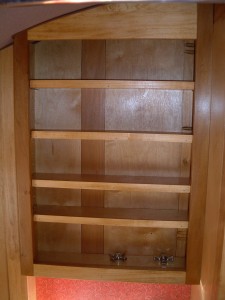
Under the forward facing lav sink base there is a shelf for large items. The medicine chest above the sink has adjustable bookcase type pin hole shelving.
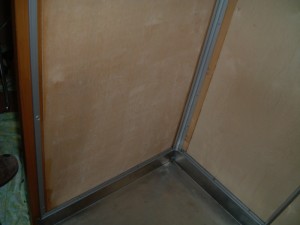
The finished shower walls are made from Hoskin & Muir 1/16th” panel corner and edge extrusions, stainless steel screws and white Formica panels.

The Lasco shower curtain bar helps stabilize the upper shower wall panel and the door opening.
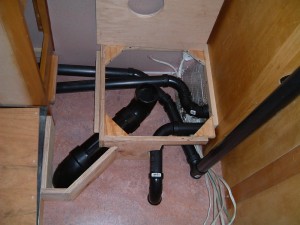
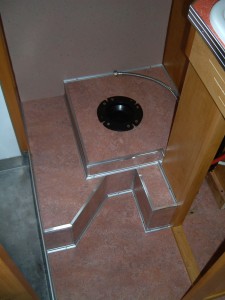
The raised toilet pedestal area covers the plumbing and electrical inlet and also brings the shorter Sealand toilet up to proper throne height. Leftover linoleum and more aluminum trim from VTS and H&K makes it water resistant and easy to clean, plus gives the bathroom a nice deco finish look…
The bathroom door, cabinet doors and bath hardware will come later…


