Mid to late 1950’s Airstreams came with just a basic 110v system until 1958 – no 12 volts wiring except for a single overhead light connected to the tow vehicle battery. This 110v system was unsafe after 50 years from typical corrosion and shorting to sharp edges on the the aluminum skin and frame. The sheathing on the wiring has pretty much decomposed, leaving only the vinyl insulation, and Airstream didn’t always use grommets. With this in mind, I undertook rewiring the trailer between the inner and outer skins in preparation for full 12 volt and 110 volt systems. The general concept is that the 110 volt system originates and distributes from the streetside, and the 12volt system originates and distributes from the right (curbside).
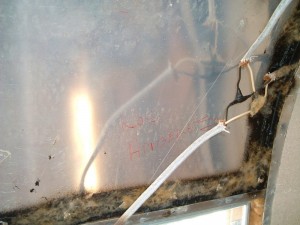
Some graffiti from 50 years ago as if there is any doubt as to where the trailer was made. Above it and to the right is a typical wiring splice that was imbedded on the insulation blankets between the skin.
Preparation
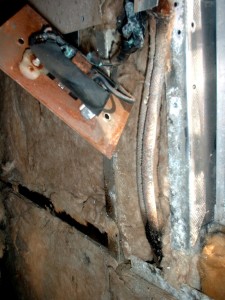
A couple of shorts were found when opening up the skins. Airstream didn’t use any electrical boxes or chafe protection.
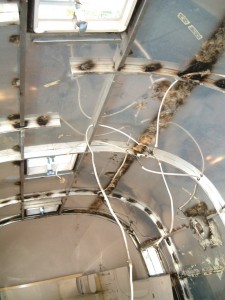
The extent of the original wiring – just old Romex cable with friction taped wrapped connections.
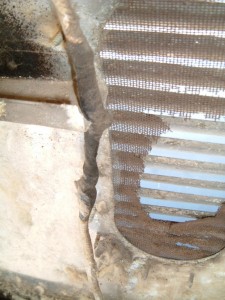
Prior shorts from the frame cutting into the wiring were evident by this older repair by the refrigerator vent.
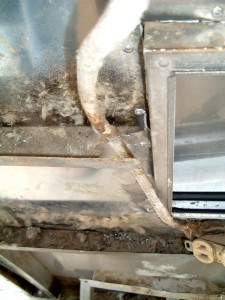
Further down the refrigerator 11ov wire was being cut by a grommet-less frame section.
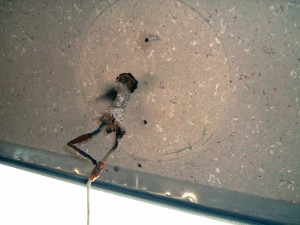
Lighting wiring just exited the skin panels through jagged cut holes.
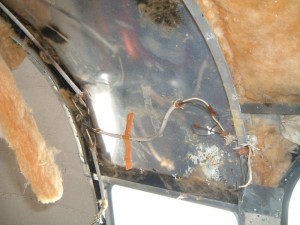
Free floating wire splices – the sheathing just crumbled away, and the electrical tape is dried out.
New Wiring
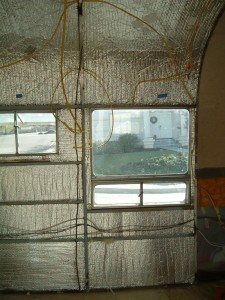 ‘
‘
The new 110v wiring is 14 gauge (white sheath) and the 12 volt wiring for the lights, water pump and fans is 12 gauge (yellow sheath).
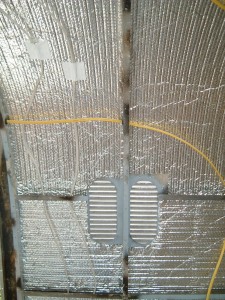
This is the same fridge vent area as shown above, but with the new 110 v wiring routed through grommets.
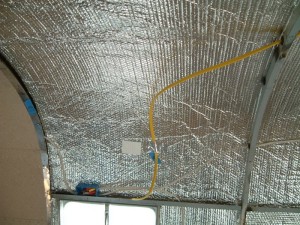
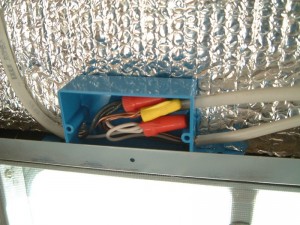
Between skin splices were accomplished using shallow junction boxes where necessary. In most cases I tried to daisy-chain splices external to the skins inside a light fixture.
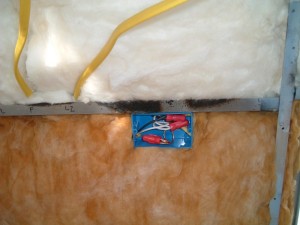
Another splice box – keeps the connections free of the insulation (and moisture).
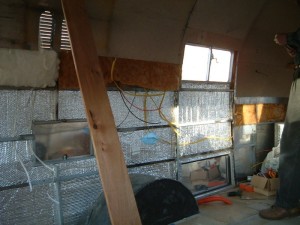
The curbside with all the 12volt wiring coming together where the DC control panels will be above the fridge.
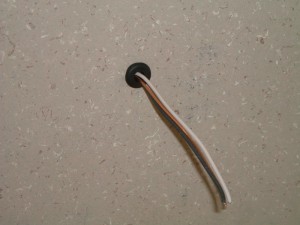
New wiring aft curbside above the bed area for 1 of 2 new reading lights. 1/2″ & 3/4″grommets were used throughout where the wiring penetrated the skin – something Airstream failed to use.
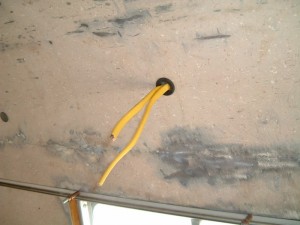
Wiring for the the under cabinet galley light- this is the same area as seen in the top left image in this section.
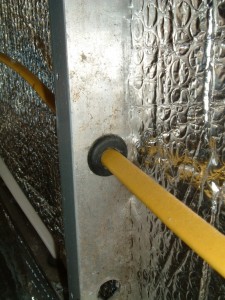
Grommets, grommets, everywhere to prevent wire chaffing. WiringProducts.com is a good source.
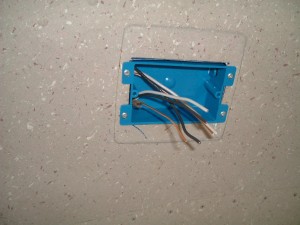
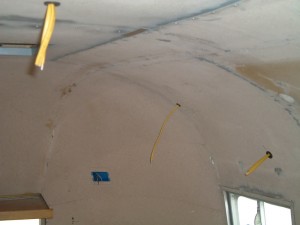
New half depth outlet boxes replace the original ragged holes.
110V AC
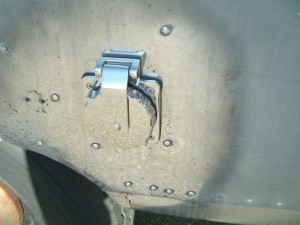
The new Marinco 30amp stainless marine type external power receptacle streetside behind the wheelwell.
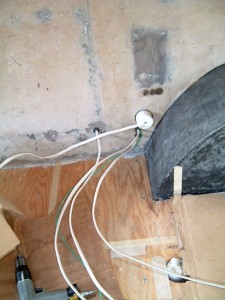
Inside of the external power receptacle and the Romex wires from the outlets that will go to 110v circuit breaker panel.
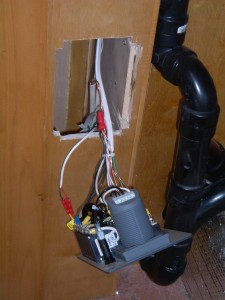
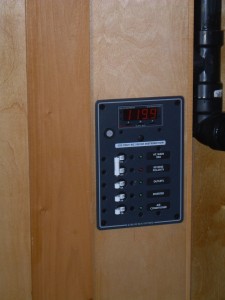
The Blue Sea 30Amp 110v AC breaker panel connects to the wires shown earlier. One circuit goes to all the 110v outlets, one over to the DC Converter, and one to Air Conditioner provisions under the dinette.
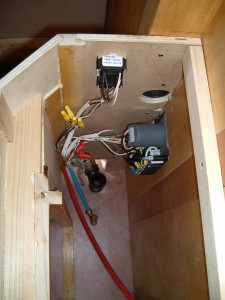
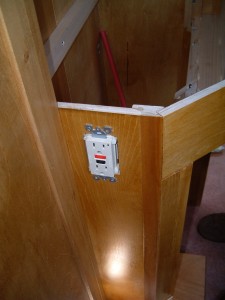
Inside view of the breaker panel (under bathroom sink cabinet) and the GFI outlet, protecting all the downstream outlets too.
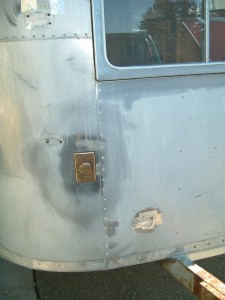
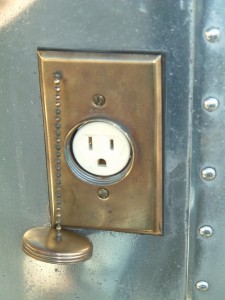
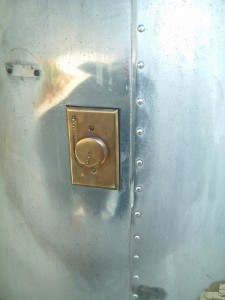
The exterior outlet in the front with new receptacle and gasket and the old polished brass cover plate.
12v DC Power
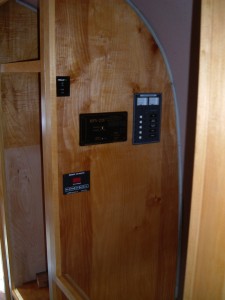
The Blue Sea DC circuit breaker panel is on the right, and the Xantrex pure sine wave 12v to 110v Converter control is on the upper left. I chose to put them in the closet forward wall for easy access, but not something that would dominate an otherwise vintage looking interior. All of the Blue Sea panels have integral lighting that is controlled by a toggle switch.
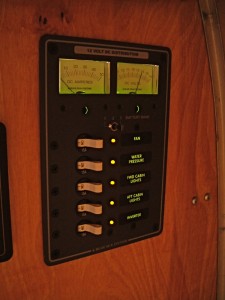
The RH meter reads voltage, and can be selected to read either each independent battery or the system voltage. The ammeter shows any current draw.
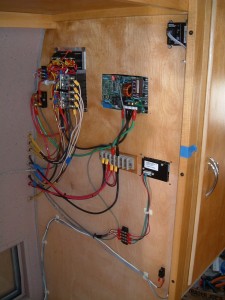
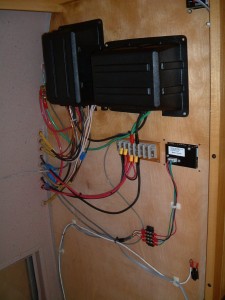
The backside of the closet face. The area below the Blue Sea enclosures will be hidden behind the refrigerator and a cabinet door closes out the area above the fridge. From left to right: the shunt for the ammeter, terminal strip for the battery voltages, the DC circuit breaker panel, the Heliotrope Solar Controller and terminal strip, the See-level tank gauge and terminal strip, the toggle switch for the panel lights (bottom) and the Xantrex Inverter control head (top).
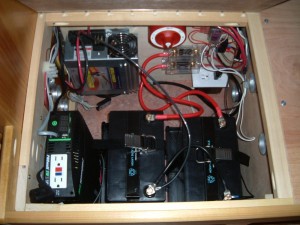
This is the ventilated battery compartment under the foot of one of the twin beds that the above wiring connects to. Location is right over the axle. Besides the two group 24 12v Sun Extender AGM batteries, we have the battery switch, 2 80AMP battery fuses, the 12v accessory fuse block, the Progressive DC converter and battery charger, and the Xantrex Pure-Sine 12vto110vAC inverter.
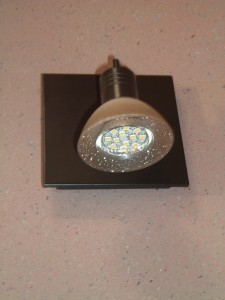
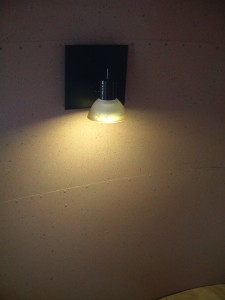
LED lights are used throughout. I can turn on every lamp in the trailer and draw only .27 amps. Depending on lamp type, I used 1 of 4 types of bulbs, all found on ebay, and all from China. There just no USA manufacturers! Above is one of the 2 reading lamps above the beds, and used a 12v GU10 bulb in place of the original 110v Halogen. All bulbs selected were “Warm White” to keep the feel of an incandescent bulb.
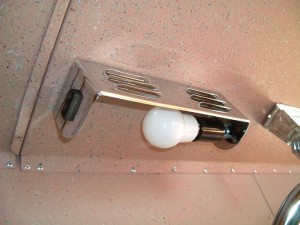
The original light over the sink was rechromed, a new socket base with switch installed, and now uses a 12v E27 base bulb that screws right into the conventional 110V light bulb base.
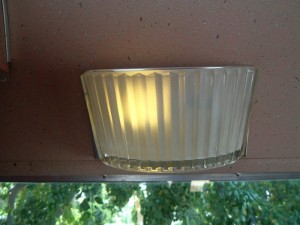
On the right is the sconces above the side windows with the same bulbs installed.
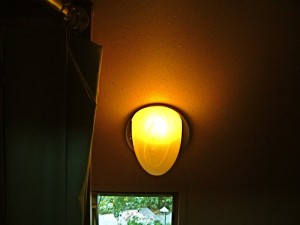
Tthe bath light is a diminutive marbleized glass sconce (Lamps Plus) with an added light switch and uses an E27 (standard screw base) 12v LED bulb.
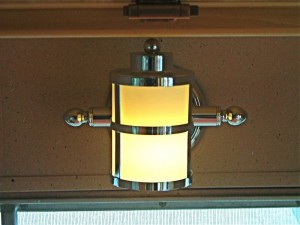
Same with the light over the front dinette, only a different style.
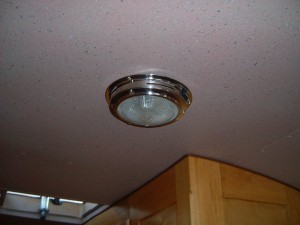
The 2 ceiling lights are marine type chrome & glass fixtures that use G4 dual pin Halogen bulbs I replaced with LED’s.


