Replacing the Floor
OK, it’s time to start documenting the on-frame floor replacement. The floor, while it “looked fine”, was actually rotted out in all the usual places – around the perimeter wherever there is a break in the lower channel that attached the upper body to the top of the plywood floor. The water enters the outer skin at many locations – air conditioner openings, door openings, vents, awning railings, etc., and then runs down the inside of the skin until it reached the floor channel, and then runs horizontally until it reached an end of the channel where it seeps out onto the floor, eventually rotting it away. Many times the floor covering is what keeps the floor together.
Before
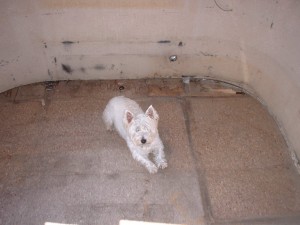
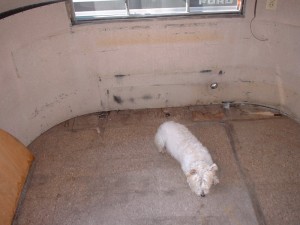
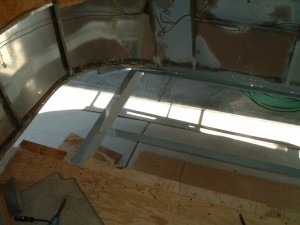
The first step was removing the furnishings and systems from the floor and the inside of the skins (above). Next step was to remove the inside of the window frames (riveted in place), and the pop-rivets that hold the the large inner skins to the frames (above right). You can also begin to see the bad floor here, from a leaking water fill neck and water that I think came in through some awning screws someone installed over the front window.
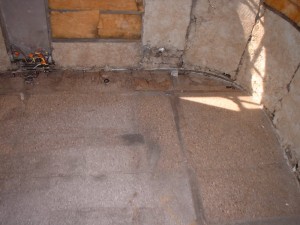
Removing the skins exposes the insulation. The wiring in the upper left of the picture is the junction of the wire harness to the tow vehicle plug, and the 12v wiring to the rest of the trailer. This is also the time to repair all the towing & 12v wiring, as removing this skin is the only way to get to it.
Preparation
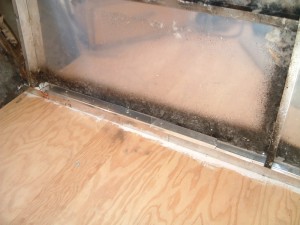
Next is to remove the perimeter lower channel fasteners. Top picture is the sheetmetal type screws that run around the edge attaching the lower channel to the plywood floor only. The lower larger fasteners are a 1/4″ flat head elevator bolt that goes through the floor and into the floor frames. Removing the screws is easy, but removing the bolts require cutting off the heads with a cut-off wheel. The bolts are bent over underneath, prevent the nuts from being unscrewed.
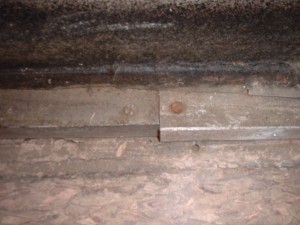
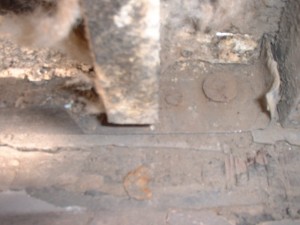
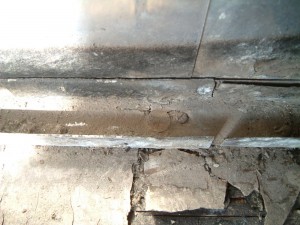
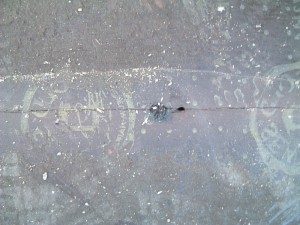
The field flat-head bolts are between the floor sections, and the sections can be usually pulled away, leaving the bolts behind and cut off later.
Next will be removing the floor in pieces.
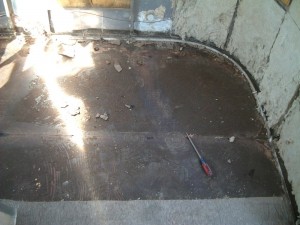
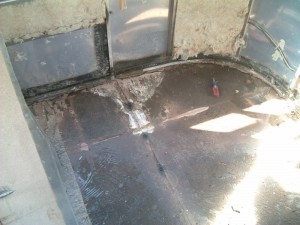
You can see some of the hidden damage above – and the original plywood floor joint.
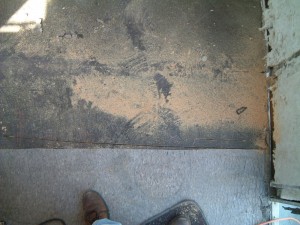
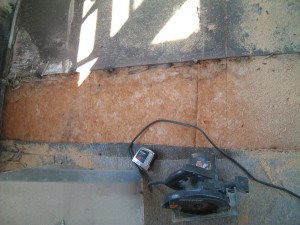
Set the saw to just the thickness of the plywood floor (5/8″). Cut aft of the production floor joint. One cut fore & aft up the middle, and the 4 sections easily pull out.
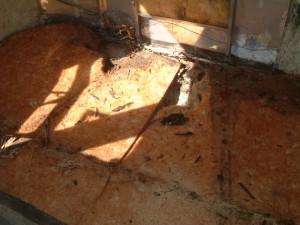
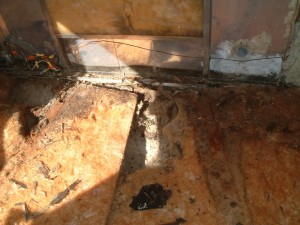
The insulation is exposed. You can see the corroded area on the right from the water leak that caused much of the damage – from around the front water filler neck and external electrical outlet. Airstream in the 1950’s built the trailer by stretching the insulation over the frame, securing down the plywood floor, installing the upper frame and outer skin shell, and then installing the belly skin.
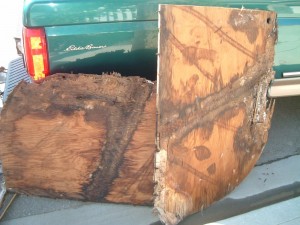
The removed front floor sections, hardly even usable as a template. Very little was holding the shell to the floor, or the floor to the frame.
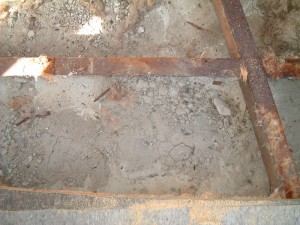
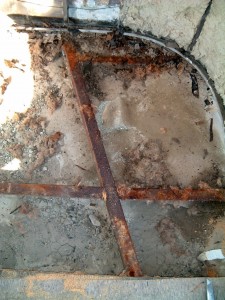
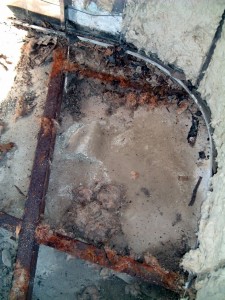
Check out the piles of dirt and gravel in the belly skin from many a dirt road. What you can’t see here is the corrosion in the belly skin. This is when I knew I had to replace the belly skin too. See the next topic section for that process.
We’ll take care of the frame rust next.
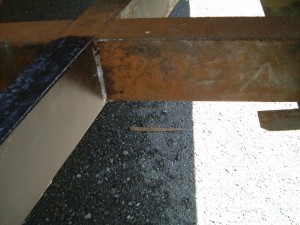
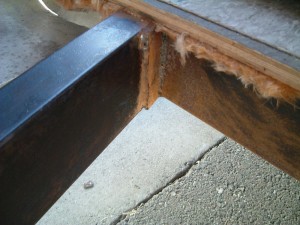
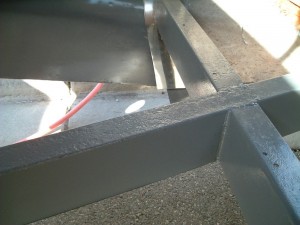
I removed the belly skin (see next topic section) and wire brushed the frame with an angle grinder and brush cup. I then applied Loctite Rust Converter to the frame per the instructions. Rather interesting stuff, it reacts with the iron oxide to form this very hard polymer coating
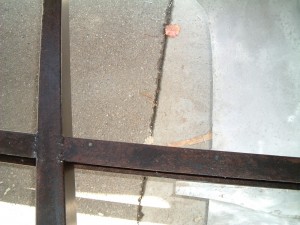
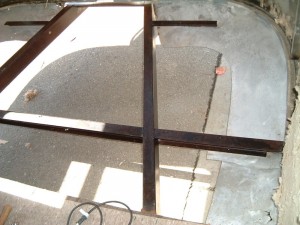
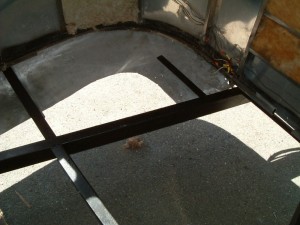
Look Ma, I can see the ground. You can see the 1 foot of old belly skin to which the new skin will be attached.
I sprayed the frame with an enamel Rust Preventing Primer from Rustoleum. It adhered well to the polymer coating.
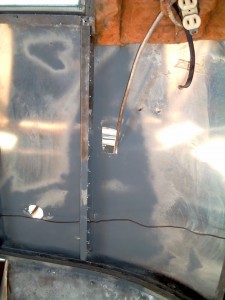
Remember that skin corrosion from above? I removed it with Scotch Brite polishing disks, removed the vertical frame and popped out the dent from the inside, and then primed the area.
Floor Installation
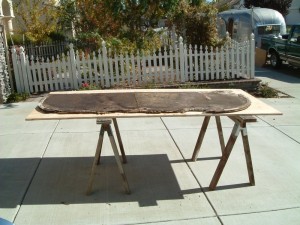
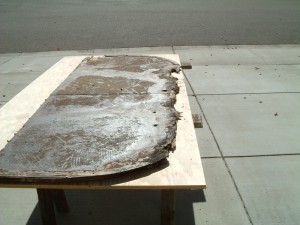
The old sections serve as templates – you can see how much disintegrated in the front. New floor is 3/4″ AC Exterior Plywood while the original floor was 5/8″. That is because of the extra 1/8th inch of linoleum or floor tile was on top of that and between the plywood and the C Channel.
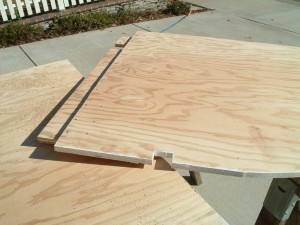
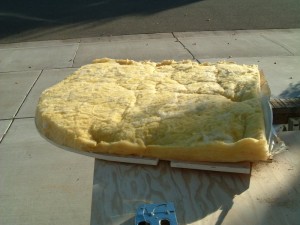
I primed the edges with an oil based primer. The 6″ wide center seam splice plates are glued with construction adhesive and screws. 2″ Insulation is tacked to the underside with staples.
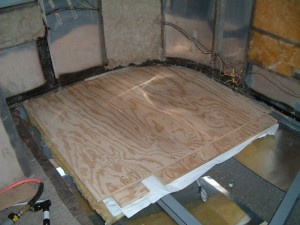
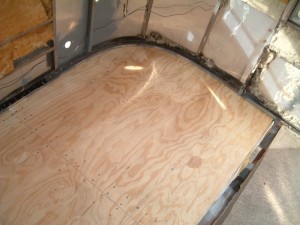
The first half section goes in, tucked under the wall C Channel, followed by the second half and then glued and screwed at the splice. It’s important to get them all aligned and square before attaching the channel screws and frame bolts. With the insulation underneath there isn’t much ability to slide the panels around.
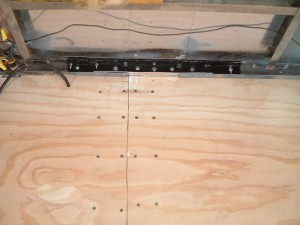
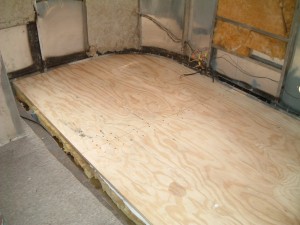
The first image shows an aluminum angle stiffener I added to the all important front tie-down bolts. The front section is now rock solid
Galley Floor Section
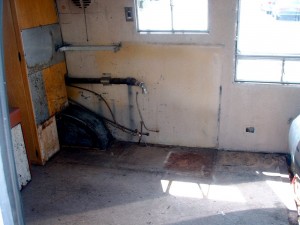
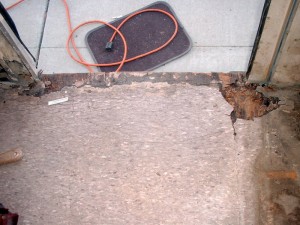
Next came the section forward of the wheelwells. The floor by the door and under the old galley was rotted out along the edges.
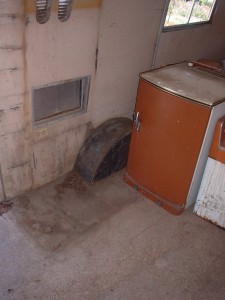
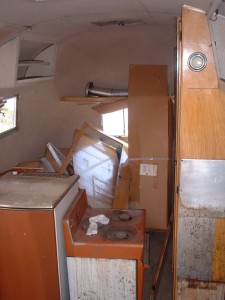
As I moved front to back replacing the floor, the back end became a storage area.
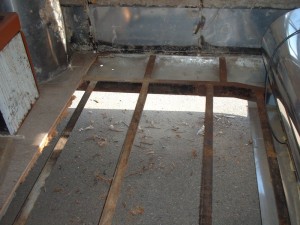
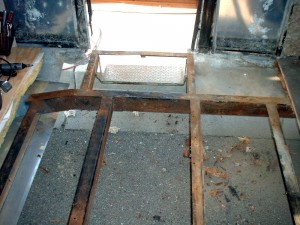
With the floor and insulation removed, the frame is exposed.
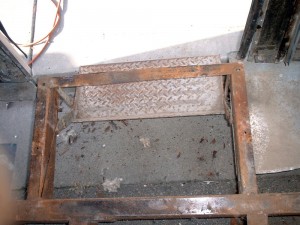
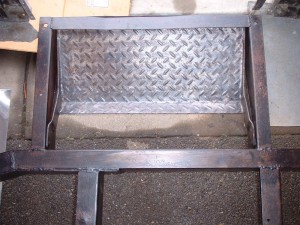
The step, before and and after rust removal and Rust Converter applied.
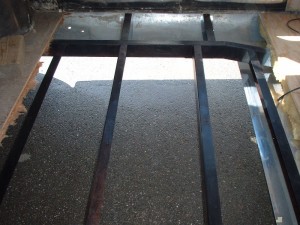
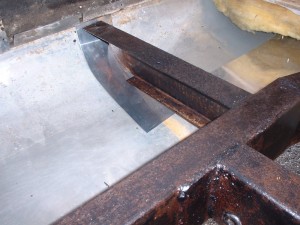
Below the outboard frame section is one the extra layers of .032 2024-T3 aluminum added to prevent the frame from further wearing through the belly skin cove.
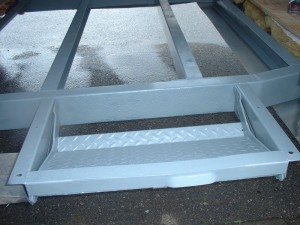
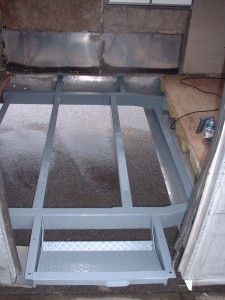
The Rustoleum gray epoxy primer applied.
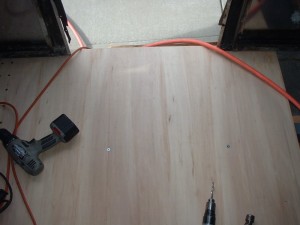
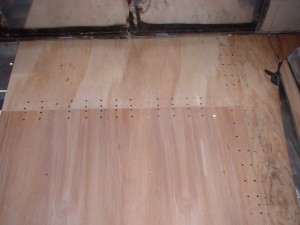
The new doorway floor section installed in two parts. I put the fore & aft splice under the front edge of where the cabinets will screw into the floor. The 6″ splice made of plywood joins the galley section to the previous installed front section. 8 feet down, 12 to go…
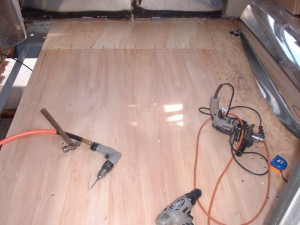
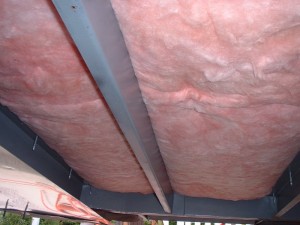
This time I used 11 layer Poplar 3/4″ plywood, as the CDX exterior plywood just had too many voids in it, causing problems at the splices. Above is the 2″ water heater tank insulation blanket as seen from underneath.
Moving further along and back over the axle…..
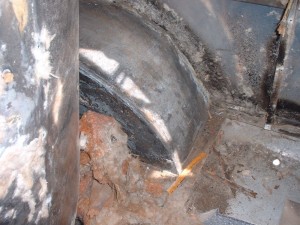
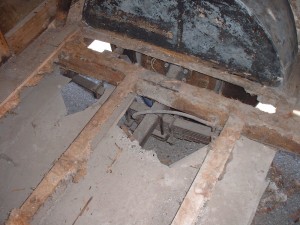
Left wheelwell area. The wheelwells themselves are galvanized steel and are held in place by the floor and rivets in the outside skin.
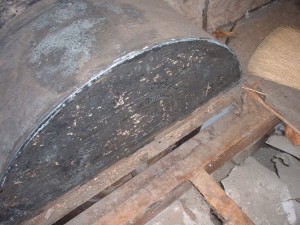
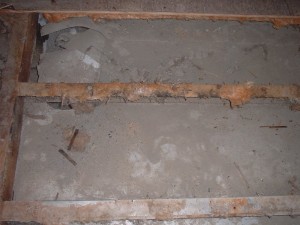
The right wheel well area and the usual piles of dirt in the belly skin.
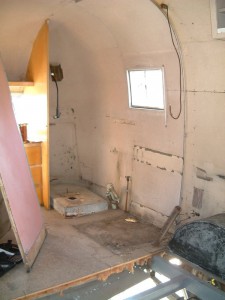
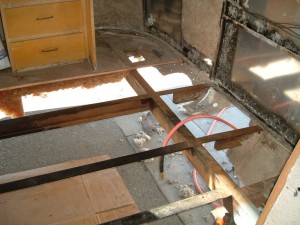
The end is in sight. Sanded, treated and primed the over axle section and moved further back. Upper left is the bathroom area, lower right is with the floor and center belly skin section removed.
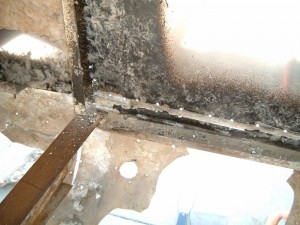
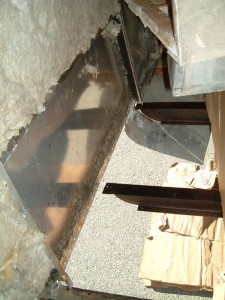
The U channel behind the bathroom wall was corroded away, so I had to remove it for replacement, along with the belly skin below it.
The floor under the bathroom and to the back gets replaced next.
This aft section took the longest, as I had to install the support structure for the waste tanks, and the tanks themselves down between the frames, and then install the floor over them. See this section for the waste tank install.
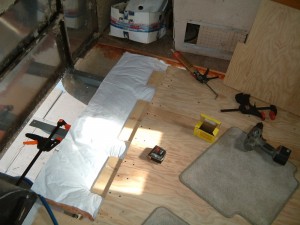
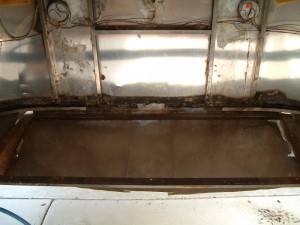
Covering up the area aft of the wheelwells, showing the splices and insulation. Next, the very aft frame exposed.
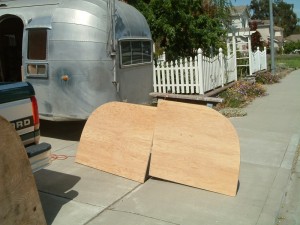
The two aft floor halves, made using the old removed floor section templates. Next is the frame sections all painted and ready to go. I found that by removing the belly skin, I could flex out the walls enough that I wouldn’t have needed to cut the floor sections in half and splice them back together (a little too late). Oh well, next trailer and floor replacement.
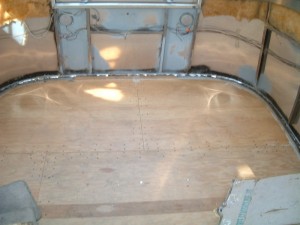
The new floor U channels to replace the ones corroded out. I primed under the channels and and the edges to slow down the rot this time. And finally, the floor section I was looking for, the very last piece installed…
OK, now that I’m done with the floor, I get asked; what would I do different – or the same? If I had to do it again, I would completely remove the belly skin, allowing me to not have to cut the sections in half laterally. I would also install all new belly skin using the better 5053 aluminum instead of the soft 2024-O Airstream used. The 3/4″ floor is better than the original 5/8″, but I think I would have gladly paid the double price of marine grade plywood, as the quality of 3/4″ AC-X exterior plywood is crap nowadays.


