Since the original plumbing was plugged and corroded copper lines with only a huge 110v only water heater, I went with a new tankless heater and all new PEX water lines. The water supply consisted of a hose connection to the copper water lines, and an independent small galvanized tin water tank and pump-prime counter faucet, which I replaced with new poly tanks under the dinette and a quiet demand pump. While at it, I replaced some of the pitted fixtures with period appropriate ones, while rechroming others.
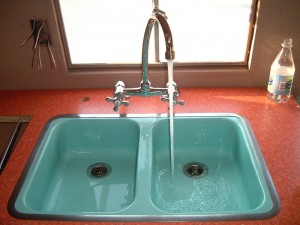
The first sign of usability! Hot and cold running water. Since most of the plumbing is hard to get to once all the cabinets are in and doors are on, etc., I felt it was important to make sure the water lines and system were leak free and every thing worked before proceeding too far.
Old Plumbing
Reminder of what it was…
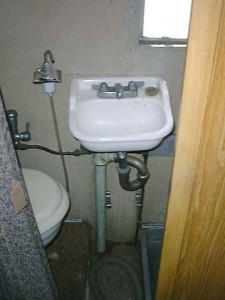
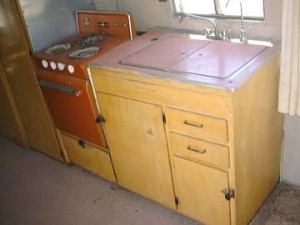
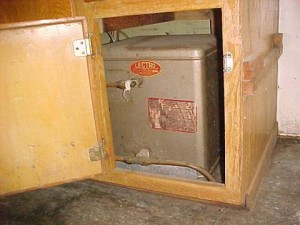
The original 110v Electro Hot Water Heater ^
Hot Water
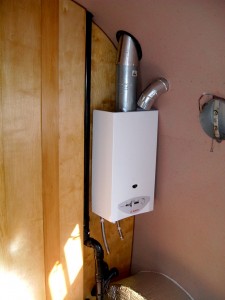
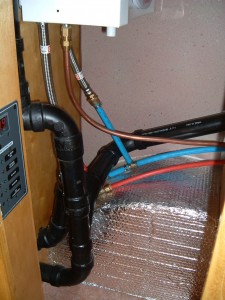
The trailer originally had only a rusted out 110v heater under the galley sink (see above). The Bosch tankless (on-demand) 1600P LPG hot water heater I used to replace it is lightweight, requires no power, and can run both a shower and a sink at the same time. Hot water is able to get to the shower (farthest user) in 6 seconds. Such a heater is not officially approved for RV use nowadays since it uses ambient air for combustion (like the heaters of old). I dealt with this by enclosing the heater in its own utility closet and ducting in external air. Since the heater only runs when there is a demand for hot water there is little actual LPG flame use. The heater housing only requires a 1 inch clearance to any combustible surfaces. The last picture show the color coded Pex supply lines and the 1/2″ copper gas supply line. Very simple hook-up.
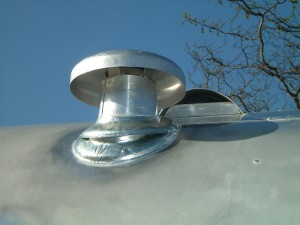
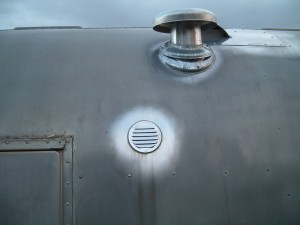
Most importantly, the Bosch requires no big hole to be cut into the side of the trailer, instead only a 4″ hole through the roof for the vertical exhaust vent. Standard gas vent fittings cap off the duct. A standard aluminum roofing eave vent attached to a 3″ gas duct adjustable elbow provides combustion air – and took care of an old nondescript previous owner installed hole.
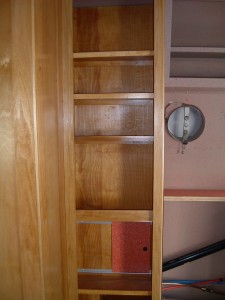
The hot water heater utility closet was closed out with a removable back wall to the pantry, and for lighting (pizo-electric) and turning the heater off and on, an access door was made from formica and tracks made of aluminum J channel extrusion.
Water Supply Lines
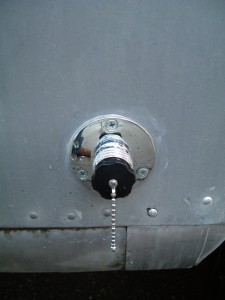
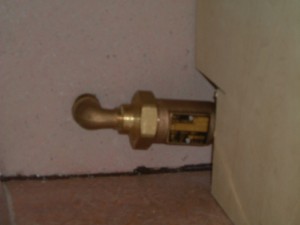
It all starts with the water inlet, a Perko marine type (all chrome). This in turn connects to a double check valve just inside the inner skin and then connects to the water supply lines and over to the water tanks for pressure filling. These check valves are used mainly in hydronics installations. I like them owing to their durability and ability to disassemble, even after installed, for cleaning or repair.
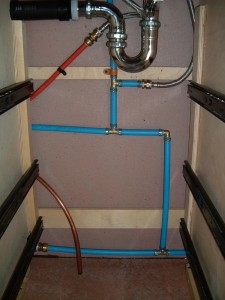
The check valve supplies the main trunk line forward to the tanks (off to the right) and up to the kitchen and water filter cold water lines, and then aft (left) to the bath and hot water heater.
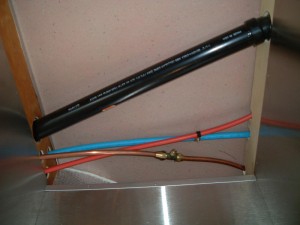
This shows the lines continuing behind the stove.

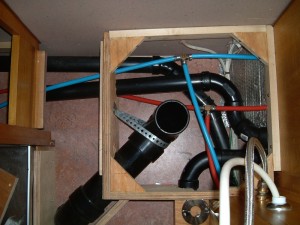
Continuing aft, the lines enter the hot water closet and connect to the HW heater, and then continue back into the bathroom, branching off to go to the sink (lower), and aft under the hamper cabinet…
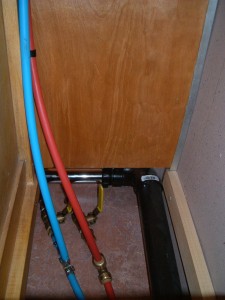
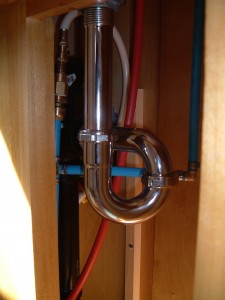
…where they go up to the shower controls. Here is where I also have the aft drain valves. All points from the kitchen and aft drain downhill to this point, including the hot water tank. To drain the lines all I do is open these two lever valves, accessible from under the cabinet floor bottom, and they drain to daylight through the trailer floor. On the right is the under sink lines in the lavatory sink cabinet. A close-out panel will hide and protect the lines.
PEX
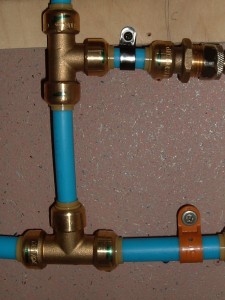
Let me tell you a story about PEX. I’ve sweat soldered copper pipe fittings in all the houses I’ve worked on, but I chose to use PEX this time owing to it being lightweight, cheaper than copper pipe , easy to snake through cabinets and curves, and the ability to freeze without damage. It’s been used in houses for decades now. There are 3 methods of securing the fittings. One is Shark Bite slip-on connectors, another is crimp clamps using an inexpensive tool, a similar method is the commercial expansion and ring method using an expensive commercial expander tool that temporarily enlarges the pipe ID, and then its memory shrinks it onto the barbed fitting. The way the CashAcme Shark Bites are supposed to work is the “shark teeth” hold the end face of the pipe up against a smooth sealing surface, with an o-ring keeping the pipe aligned and preventing water from seeping out. They are expensive ($6 to$9 each). They also don’t work worth a hoot. I installed them throughout the trailer per the instructions (clean square ends, correct insertion depth), and then when I pressurized the lines, I had water dripping everywhere, over 80% of the connections (above image). I took apart each connection, one at a time, reworked them, pressure checking each time. Some I got to stop by swapping connectors, others by relieving any preload on the lines with clamps, some I never did stop seeping. Realizing that this was way too important to chance, I ordered all new clamp fittings and a clamp crimp tool ($90) from PEX Supply. I then replaced all the fittings that leaked, including those that didn’t that were easily accessible. This time the 1/2″ connections were OK except all the 3/8″ lines leaked! Taking them back apart and replacing the pipe or cutting it shorter, I put two clamps on each end of those fittings. Finally I had everything leak free, even after the old twist & shake test.
What did I learn from all this?
- PEX pipe is easy to work with.
- Shark Bite fittings should only be used in repair or access problem situations, and only with the Shark Bite brand tubing.
- Crimp clamp fittings work fine on 1/2″ pipe, but not 3/8″.
- I should have bought the more expensive $200 clamp crimp tool, as the heads stay in alignment without an additional hand.
- There is a reason why the pros only use the expansion and ring method for installation..
Would I do it again? Yes, but only in 1/2″ and with a more expensive clamp crimp tool. Maybe even pay more for the expansion and ring method.
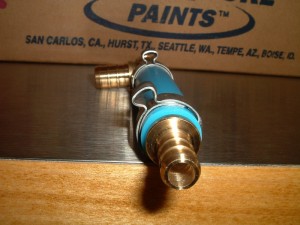
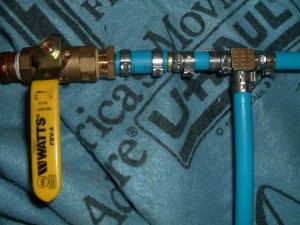
This shows a fitting barb and clamps crimped in place. The image on the right shows the double clamping on a T fitting I had to do with the 3/8″ pipe. There is a 3/8″ to 1/2″ adapter in between it and the valve, as there are no 3/8″ to 1/2″ pipe thread adapters. Next time, no 3/8″ pipe…
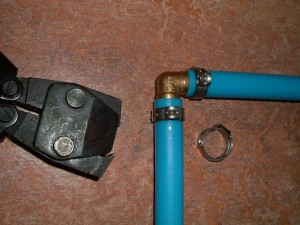
The cheapo ($80) crimp tool, completed fitting and a clamp. The only way it would work is if you had four hands (or a helper), two to operate the tool handles, another to keep the heads aligned and a fourth to hold the fitting, pipe and clamp in place.
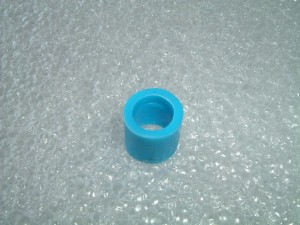
The way the clamp and ring type connections work is the PEX pipe material is deformed over the fitting barb ridges, creating a seal. That is probably why the 3/8″ didn’t work well as the 1/2″ did, as the clamps are much narrower.
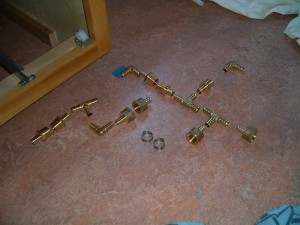
It is a good idea to plan out your installation and order all the fittings and a few spares. All the clamp type fittings you see here cost that same as only 2 Shark Bite fittings. I recommend PEX Supply.com.
Drains, Vent & Waste (DWV)
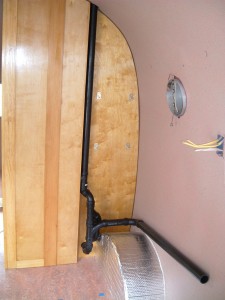
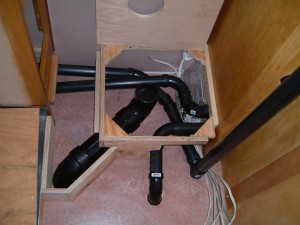
As opposed to the water supply lines, the drain and vent lines went smoothly. Here we see the main vent stack to the roof with: (top to bottom) the feeds from the kitchen, the shower and waste water tank vents, and the drain to gray water tank. Next image shows those same pipes, with the addition of the shower drain teeing into the drain and vent riser for the lav sink. Remember, the fittings into the tanks are inboard of the chassis rail, hence the odd routings into the tanks. Originally the shower was going to be in the back of the bath and the toilet in the front, but I swapped them around once I laid out the plans on the floor. If I had to do it again, I would have swapped locations of the black and gray tanks, or left the original configuration plan in place. I think this underlines the need to have all your fixtures and appliances or real size mock-ups before doing the below floor work and layout designs.
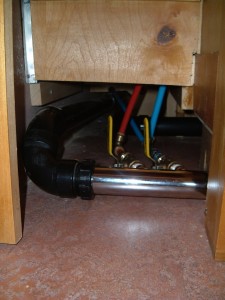
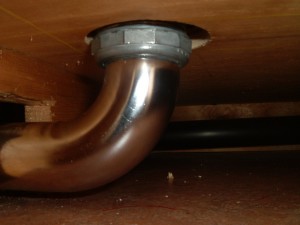
Next two images: Moving further aft we see the shower drain and extended trap. In order to keep all the fittings above floor and still create a gas vapor trap, I used an old plumbers trick of creating a dog-leg trap. The chrome EL connects direct to the shower pan drain fitting. You can also see the 2 water line drain valves as seen from under the back shower wall bookcase.
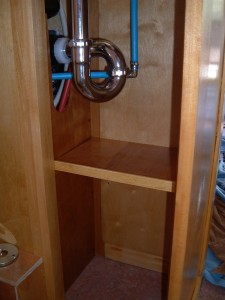
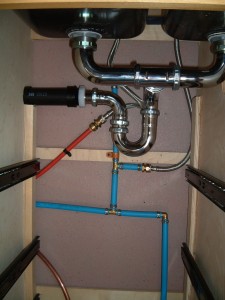
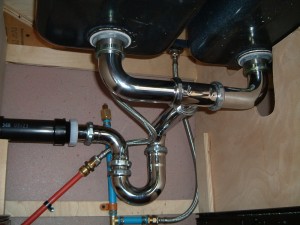
First image shows the lav sink trap that drops to the gray water tanks and tees into the vertical lav vent line. Next image is the the forward end of the drain system in the galley, teeing into the double bowl sink and then passing behind the stove on its way to the vent stack shown earlier.
Fixtures
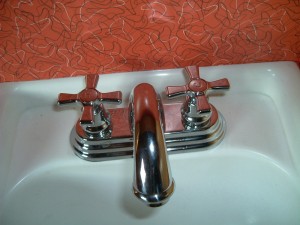
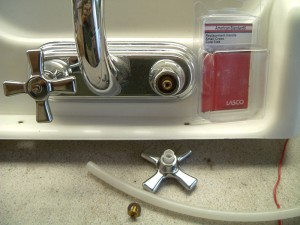
The original lav faucet would have cost more to repair the gaskets and rechrome it, and did not have the aerator that helps cut down on water consumption – something important when boondocking. This shows how the LASCO replacement handles were adapted using tubing as an adapter bushing to replace the lever handles. The cross handles are more period appropriate.
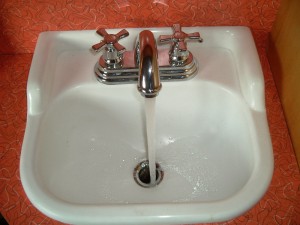
Finished lav sink installation just waiting for the countertop cove molding to be installed. The sink is the original one to the trailer, except now you don’t have to tuck your legs under it to sit on the toilet.

To the right is the undersink closeout panel and shelf installed.

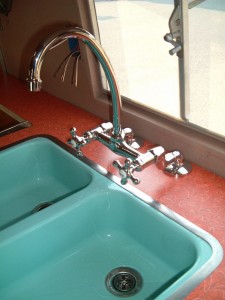
The kitchen sink. Sink was rescued from another Airstream remodel with all new drain fittings, and the new faucet is a LASCO bar unit designed to be mounted on a wall, but installed here to the countertop with chromed Street El’s instead.
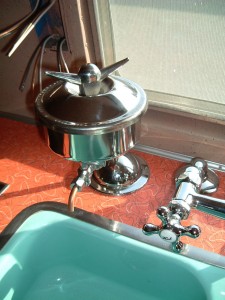
1/2″ Cove molding closes out the gap between the countertop and wall and the Ogden water filter installed.
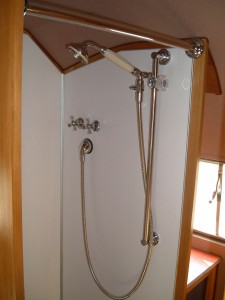
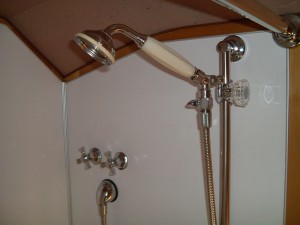
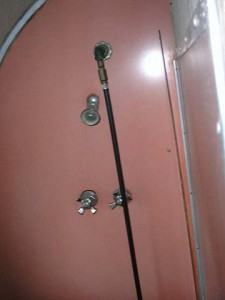
The shower controls are original (these I rebuilt and rechromed), along with all new heavy chrome parts from the wall hose fitting out (LASCO once again) . The valve fittings were rebuilt using washers, gaskets and bonnets from the hardware store. The Lasco shower curtain bar helps stabilize the upper shower wall panel and the door opening. A shutoff valve on the shower wand allows water conserving showers.
Toilet
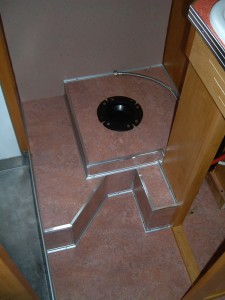
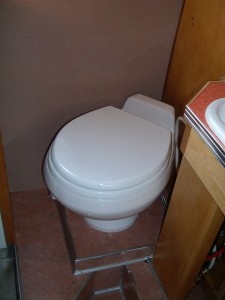
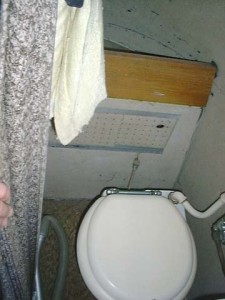
The Sealand Traveler 500+ (low profile version) china toilet. The raised pedestal area covering the plumbing also brings the shorter toilet up to proper throne height. Leftover linoleum and more aluminum trim from VTS and H&K makes it water resistant and easy to clean, plus gives the bathroom a nice deco finish look.


