Out of sight, the belly skin turned out to be unsalvable, too. When the trailer was purchased in 1956, the dealer offered protective undercoating – which was popular for car undercarriages in those days. Over the years, moisture entered at the seams and and any damaged skin and got between the under seal and the aluminum – with bad corrosion resulting.
Before
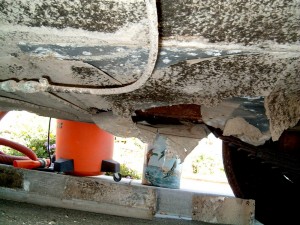
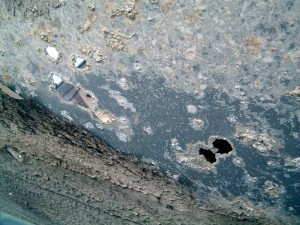
Some of the holes that existed underneath – great homes for black widows and critters over the years. The corrosion was so bad it made its own holes.
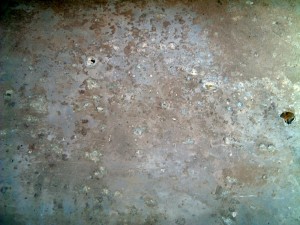
Even the uncoated areas were pretty badly corroded – couldn’t blame this on salted roads either – this trailer resided in California.
Preparation
I removed the skin starting 1 foot in from all around the edge – this gave me a place to attach the new skin. I removed all dents from the remaining formed outer section, and repaired a few damaged areas with spliced in pieces or doublers.
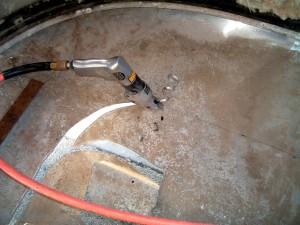
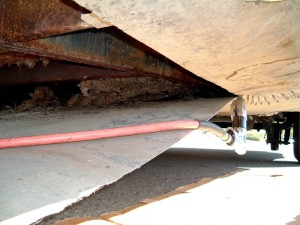
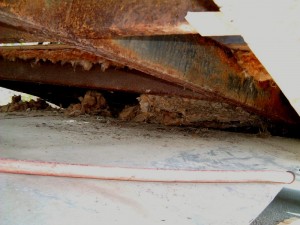
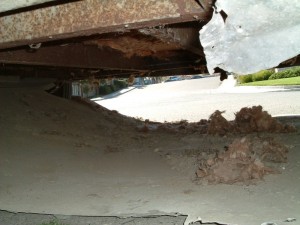
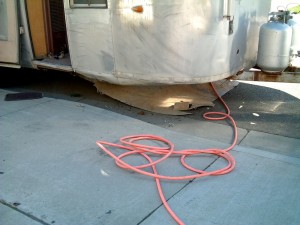
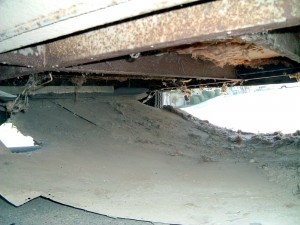
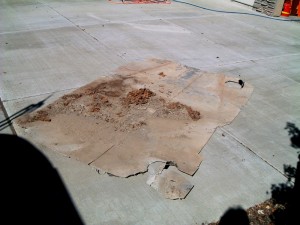
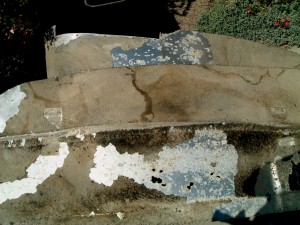
These last two images show the front 1/2 of the skin removed. The piles of insulation were where critters had pulled apart the floor insulation and made nests. You would never have known all this junk and dirt existed from the outside. I removed about 20# of dirt, crud and gravel from the belly skin.
New Skin Installation
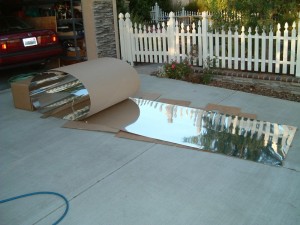
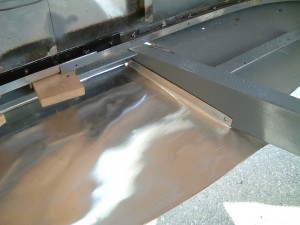
A roll of .025 2024-T3 aluminum from Airparts. In front between the tongue frame, I formed a piece that went up under the front skin much like Airstream did all the way around and then formed it tight to the frame, eliminating the original gaps that allowed much of the dust and rocks to get inside. You can see one of the many 3/4″ spacers used between the frame and the C Channel while the floor is out. Since starting the project, I have received a couple of endorsements for using 5052-H32 aluminum sheet instead: 1/3 the cost, easier to bend vs. the 2024-T3, but more dent resistant than the original 2024-O sheet. It was also recommended I try 3030-H14 aluminum, which I did use in the back end, which I later regretted. 2 years later it was corroded terribly, especially where it contacted any steel parts (frame, jacks, clamps, etc.). Stay with the the 5052-H32. Rivets are 1/8″ and 5/32″ wide head pop-rivets available from Vintage Trailer Supply.
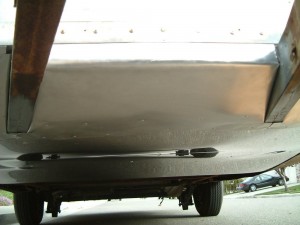
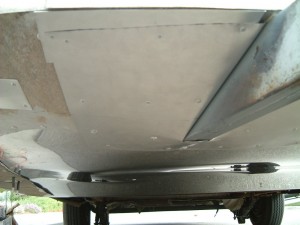
Here’s the front looking back showing the new front section between and around the tongue frame.
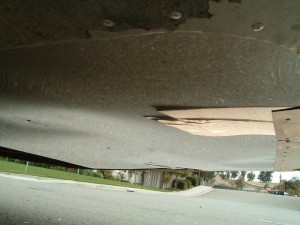
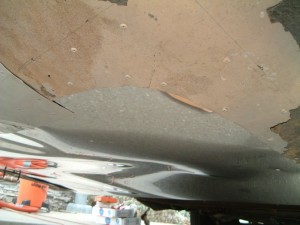
The mirror finish reflects all the stuff on the ground, making it hard to see what we are looking at here. I was trying to show the 4 inch overlap of the new and old skin, and the two rows of wide head 5/32″ pop-rivets I used to secure it.
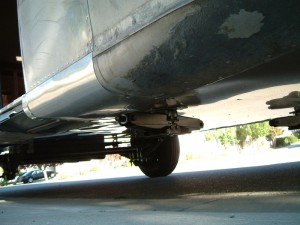
Here’s a little better picture of the front half showing the old and new belly skin sections.
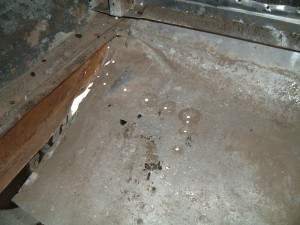
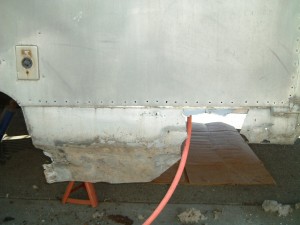
Upper left picture is of the damage to the aft belly skin and RH wheelwell outrigger. Lower right is what the skin looked like aft of the LH wheelwell. Both sections of belly skin from the bottom of the external shell skin seam and under under required full replacement – couldn’t salvage the usual 1 foot like I was in front of the axle.
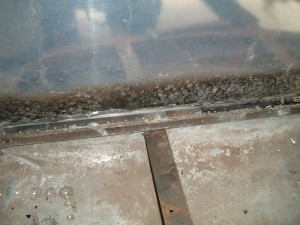
To replace the outer belly skin segments required drilling out the bottom row of external skin rivets and pulling the belly skin layer out from this sandwich. In the above picture you can see the belly skin folded over the U channel sill on the right, and how I unfolded it on the left, then was able to pull the belly skin down and out. The replacement will go back up in between the U channel and the external skin, get sealed and then re-riveted.
It is here that I replaced the axle and installed the new waste tanks before continuing on. One year had passed since I did the front skin section and I could now resume with the aft sections…
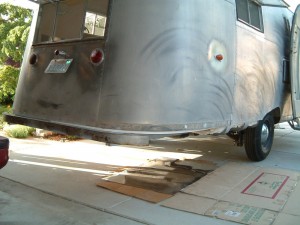
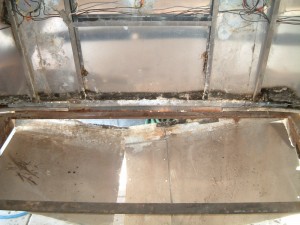
As I noted earlier. the aft skin was too corroded and too cut & torn to save, so I dropped it all aft of the axle.
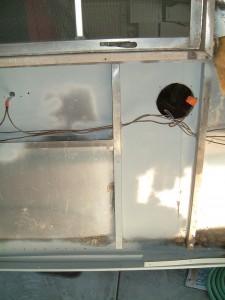
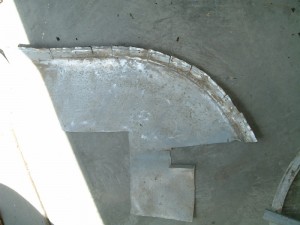
The inner skin corrosion was cleaned and primed as before. I used the old corner belly skin sections as templates, unfolding them flat and using them to cut the new skin contours.
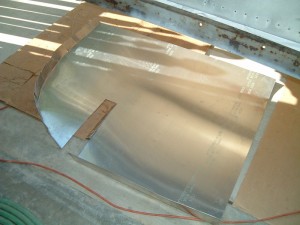
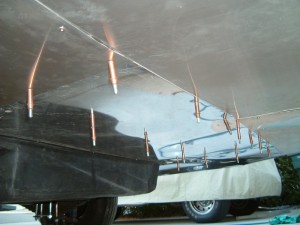
New section cut and folded, ready to go up, temporarily held in place by Clecos while drilling and getting it all aligned. I changed from the 2024-T3 sheet I started the front with. It is less shiny as you can see, but who cares, all belly skin will dull up to the same color, no matter the alloy.
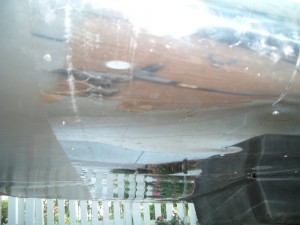
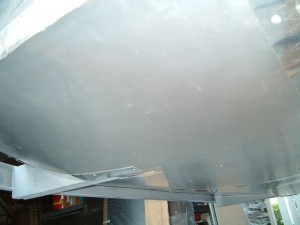
Pictures of the finished aft belly skin sections, first one looking right to left under the skin and aft of the waste tanks, the latter looking back from the right side towards the rear bumper, showing the compound curve of this skin section.
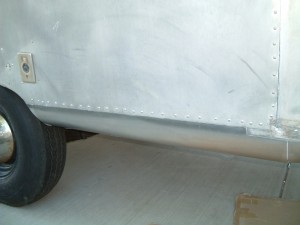
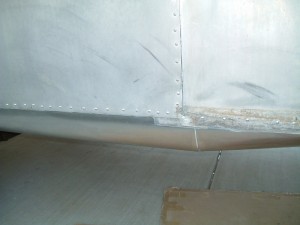
The aft left side showing how the lower belly skin comes up around the outriggers and then under the upper side skins, forming the nice curve you see on older Airstreams. A trim rail will cover the aft floor level corners. You can see the transition where the belly skin will start tapering up towards the rear cross-frame floor member at the very back.
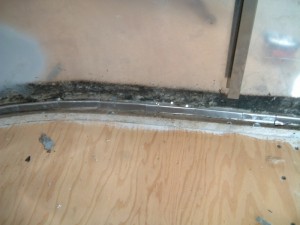
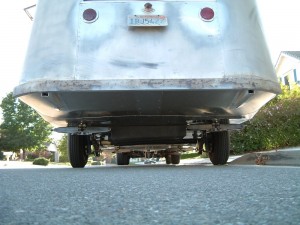
(Left) The inside C channel all ready to rivet back together. The new belly skin is brought up and folded over the outer flange of the C Channel, restoring the sandwich between the channel and the outer upper shell skin. And finally, the rear skin all completed. The ends of the 2 frame channels will be capped off to prevent bugs and such from getting inside.
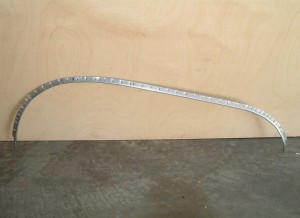
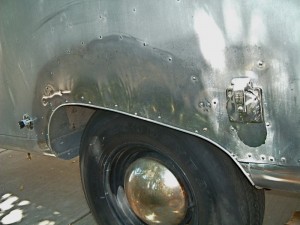
To finish off the wheel well openings, I riveted 1/8″ thick aluminum angles (1×1) to the fore & aft outriggers and the wheel well housing, and then trimmed out the opening with aluminum J-strip. The J molding is tempered, and must be either heated to return it soft condition, or notched on the flange and then carefully bent to the desired radius (as I did).
Suppliers: .024 Aluminum sheet from Airparts. Rivets from Vintage Trailer Supply.


