Replacing the Roof Vent
The roof vent covers have a nasty tendency to depart Airstream roofs. It is too bad, as the early covers are works of art by Hehr – solid aluminum, 3 piece with a built in rubber seal. The Hehr logo script was embossed on the underside. They are no longer available, except from owners who have changed their vent openings over to Fantastic Fan conversions or Air Conditioners. Generic replacement covers are sold at RV stores, but need modification in order to work.
This topic covers the modifications required to use a modern generic cover, and how the vent housing assembly was reinstalled after the removal of a roof mounted A/C. This will also give you an idea of how other such skin mounted fixtures are installed.
The original vent is unique in that it is a 12×12 opening with a 14×14 pan lid with a captivated rubber seal that drops down onto the top of the opening, creating the closure seal. The modern replacements are a true 14×14 that are designed to drop around an opening. This results in no sealing action if used as is. The lip of the opening has to be built up and out for it to work. This style vent made by Hehr was used until about 1966, at which time a vent made by Hammond was used. Modern Lexan replacement covers from RV places are about the only replacement available at this time..
Steps:
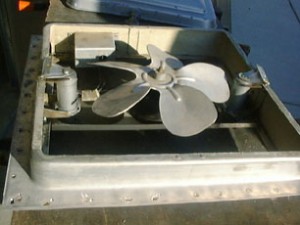
- Here is the vent/fan assembly on the bench prior to installation. You can see the hinge fittings to either side that attach to the cover with 3 holes.
- The same cover with the seal installed. I used an 8′ piece of “garage door seal” made by Macklanburg-Duncan (MD). I used 4 short sections, but it could have been easily been wrapped around in one continuous piece. The corners are sealed with RTV sealant.
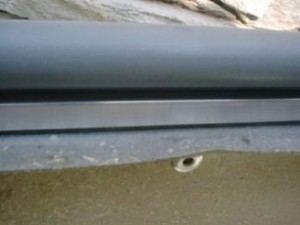
- A close-up of the seal looking inside to out. The seal rests on the outside of the vent lip and is pop-riveted around the circumference.
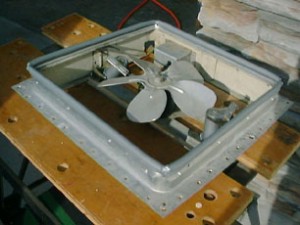
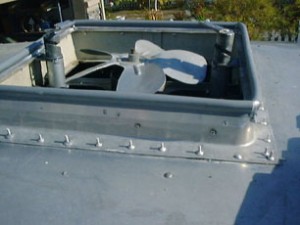
- The assembly riveted into place in the hole with the Olympic rivet stems awaiting to be shaved down. The flange surface was covered in Vulkem sealant before fitting in place. The LeDeux openers seen on either side are extended in this picture.
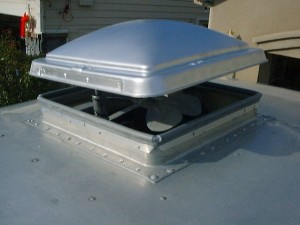
- The cover installed. It is attached just like the original aluminum cover with 3 pop-rivets each in the forward and rear hinge halves of the LeDeux openers. They are installed from above, but requires someone below helping align the holes!
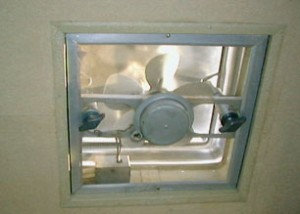
- The inside view looking up with the screen installed and the LeDuex handles popped back on. They are held in place much like a socket wrench and socket are. The 18vAC/12vDC fan can really move out the air, but at the expense of peace and quiet.
Since doing the above, I have found an original 14×14 vent cover from one of the sources mentioned above – someone who was installaing a fantastic fan installation.
If you do have an original cover – take good care of it. The covers are held on by only 6 pop-rivets. It’s a good idea to check these rivets before each outing, and to verify that the vent is closed each time before traveling each day.


