Painting the Interior Skin
Now it all starts coming together. All the hard and dirty work is behind, and the trailer starts coming together into its final form quickly. The original Zolatone finish, while durable and nicely neutral looking, hadn’t survived the many years of neglect, damage and wear from the existing cabinets and appliances. Here’s how we applied a lifetime finish using Zolatone, but using modern methods and techniques. The effect we were after was a soft, warm finish to compliment the upcoming birch wood, linoleum and coral/turquoise accents.
Preparation
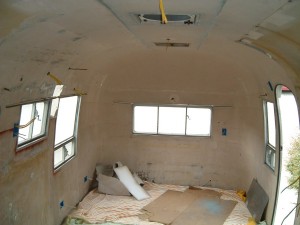
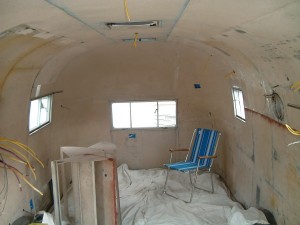
As with any paint job, the preparation is 3/4th the work. The first step is prepping the surface. Here was our starting point – all the skins are back in place, all the holes filled, and the surface lightly sanded.
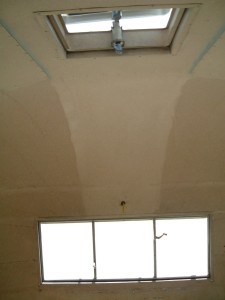
50 years of grime and tobacco smoke were erased with a few swipes of a weak TSP solution, followed by a soaking wet water/rag neutralizer.
Primer
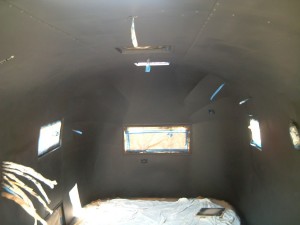
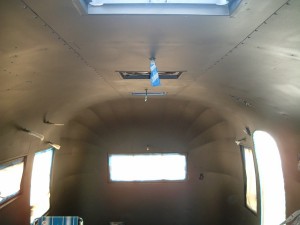
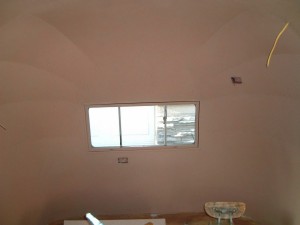
Zolatone recommended a black primer for our color combination. In retrospect, the beige would have been better. I was impressed with the primer – it is hard as steel once applied. It can be applied with a conventional HVLP spray gun, and is one-part. It dries quickly. These pictures required really powerful floodlights to take a picture – the end result was a Halloween black.
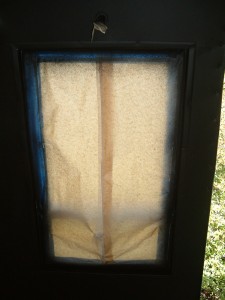
Here’s an idea on the blackness, and also the prep required, masking all the windows and wiring.
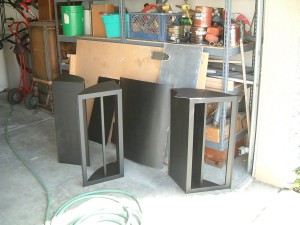
The shelving units and the very important test panels you will use the entire process to set and test the spray gun, paint mixture, and application technique. Here they are painted the primer.
Color Coat
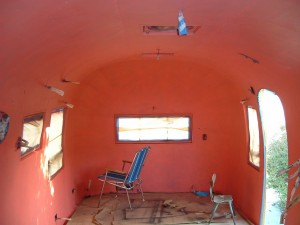
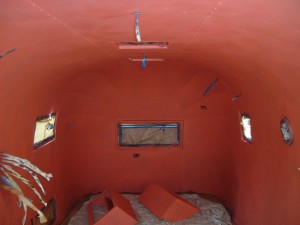
Just when y0u thought it couldn’t get weirder, you paint that dead black with a bright color base. The original Zolatone was 4 colors, but since modern Zolatone leaves out the important warmer 4th color nowadays, you have to compensate by adding a base color before applying the Zolatone, otherwise the final finish is very cool in color. As we wanted the finish to have a slightly coral feel to it, we chose a satin enamel floor paint in a color called “Coral Cloud”, made by Sears (Weatherbeater), of all places.
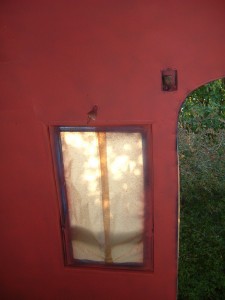
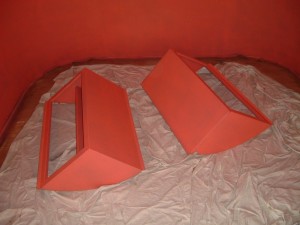
Here’s that same picture from above, but lightened up with the enamel. 1 gallon did the entire 22 foot trailer.
Sheer Coat
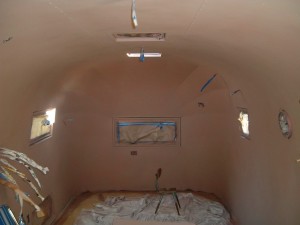
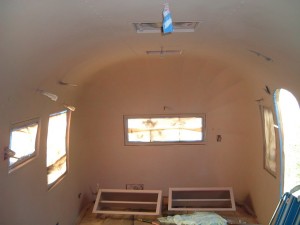
The Zolatone sheer coat is the Zolatone paint applied at high pressure (50PSI) through a large diameter nozzle (.080″) spray gun . I drilled out the nozzle of a conventional spray gun of a Harbor Freight HVLP spray pot & gun. The Zolatone website was plenty of information on how to apply, plus recommended spray guns.
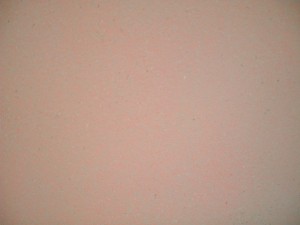
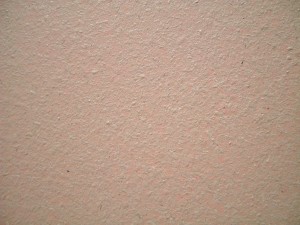
On the left is this intermediate finish as seen from 2 feet, and the right is about 8″ .
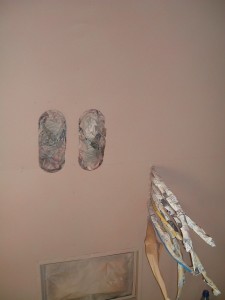
It is amazing how the high pressure “sheer” coat softens the coarse color coat. It is important to use your test panels to get the coverage down just right to cover up enough, but not too much of the color. It took less than 1 gallon of the 20-80 Desert Camo to cover the 22 foot Flying Cloud, providing the texture and durability layer for the next layer.
Pattern Coat
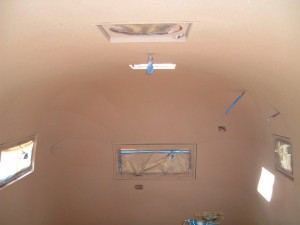
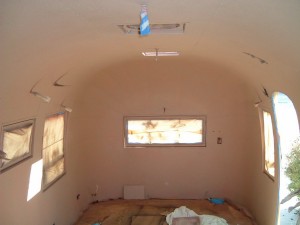
Here’s where it all comes together, the splatter or pattern coat. This is the paint applied at very low pressure, and creates the final color accent and texture of the finish.
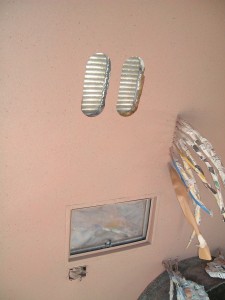
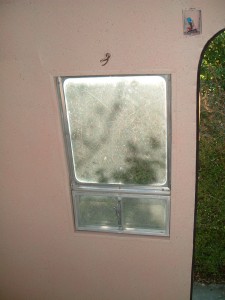
Couple more shots. I’ll admit the pictures here don’t do the final finish justice.
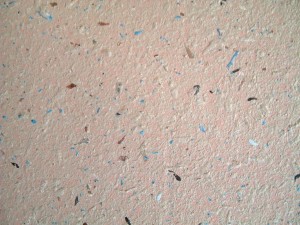
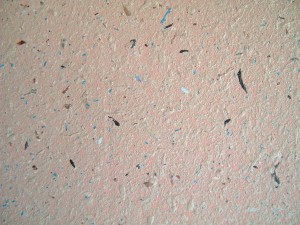
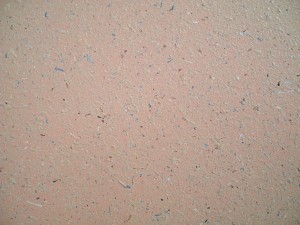
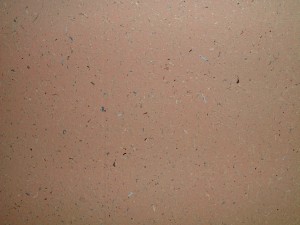
Up close pictures of the final product (top), and 2 feet away (lower), The color used for the pattern coat was 2 qts 20-80 Desert Camo, with 2 pints of the 20-77 Bright Blue mixed in.
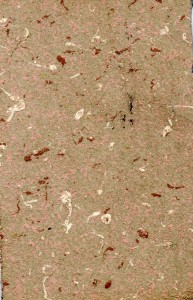
Very close-up scan of the original Zolatone. The 4 color mix is no longer available, and did not use a color coat. The tan and coral are the sheer colors, and the white & rust are the pattern colors.


