Boring stuff, but important. Early on I thought the existing insulation could be saved, but for the most part ended up getting replaced. The stuff below the floor got replaced of course with the new floor, but the insulation between the walls had it own issues too. There were two kinds, some sort of white mineral wool (not asbestos, thank goodness) that was just breaking into tiny particles, and some of the better constructed fiberglass batt insulation higher up had succumbed to leaks and rodent infestations – and some just plain smelled bad.
New insulation came from 16″ wide batts of Johns Manville R13 fiberglass insulation designed for 4″ house framing, with the kraft paper face peeled off and the batts gently split in two, resulting in 2″ insulation. I used their EasyFit blankets that can separated (pulled apart) into various widths, which makes the common 12″ wide frames sections easy to cut to size.
The most impressive feature is the new Reflectix foil faced bubble wrap insulation, At 1/4″ thick, installing it alone dropped the interior temperature on two similar weather days, by 24degsF. Where you couldn’t put your hand against the inside of the outer skin on a sunny day, you could after the Reflectix was installed. A space age material that was unaffordable just a few years ago, this is good stuff, and I highly recommend it.
I was surprised how much cooler on sunny days (yes, this is California), and how warmer on cold winter days (yes, it freezes here), the newer insulation made the inside of the trailer.
Preparation
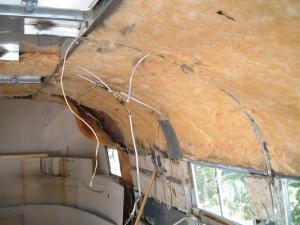
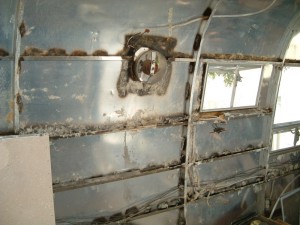
Original curbside insulation with the inner skin removed. The wires lay on both sides of the insulation.
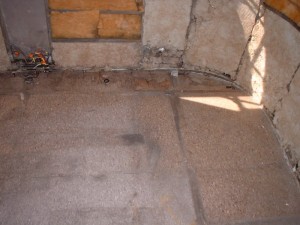
The mineral wool (white) insulation that crumbled and emitted fine particulates into the air when touched. A full respirator was necessary to work with the stuff.
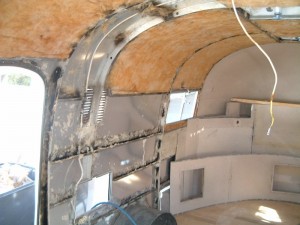
Area aft of the door opened up.
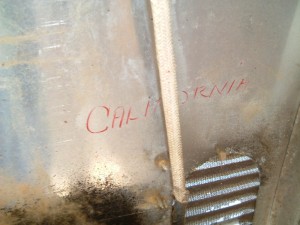
More manufacture workman graffiti – and just in case you didn’t know which factory the trailer was made…
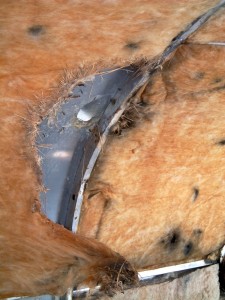
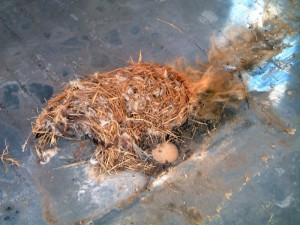
OK, gross. You never know what is lurking behind your walls. You couldn’t tell from the outside or inside, but with the skin removed we found a large rat or bird nest where they had enlarged the hole around the bathroom vent pipe under the vent cap.
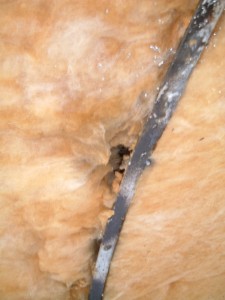
One of the areas in the insulation where some critter had built a nest in years past with elaborate tunnels and urine corroded nesting areas.
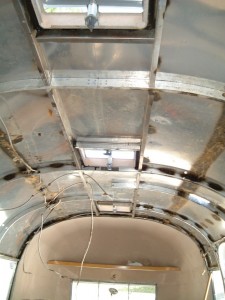
The crown area all opened up and cleaned.
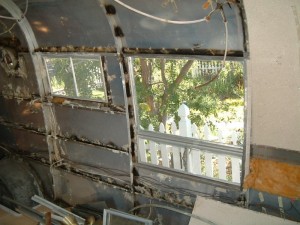
Curbside galley area and the extensive corrosion area that existed behind the skin
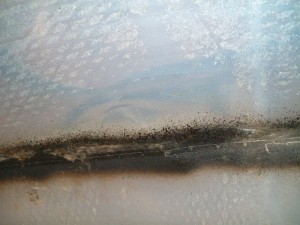
With the inside skin out, dents like this one in one of the end caps were were easily popped out.
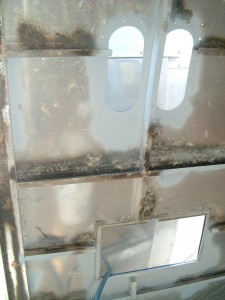
All the corrosion areas on the skin and frames was removed with a high speed die-grinder with scotch-brite pads, and then primed.
Leaks
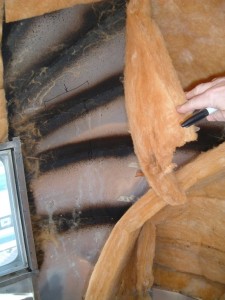
With the inner skin out, I checked for leaks with a garden hose. Even I was extremely surprised with the number of leaks, especially in the ends caps, that were present.
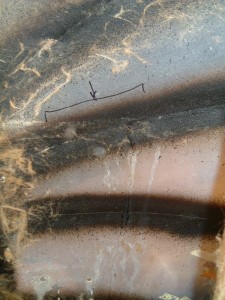
You can see the trail down from the leak, and at the bottom of the trail was, you guessed it, corrosion and a rotted floor in the past.
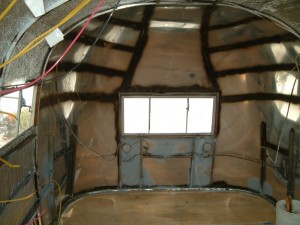
Aft end opened up showing the old automotive body sealer Airstream used to seal the endcap seams.
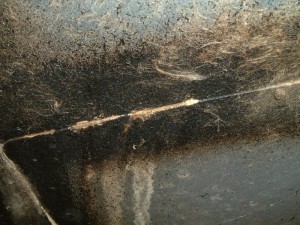
It wasn’t always successful as seen by the evidence of this leak that had been going on for quite awhile.
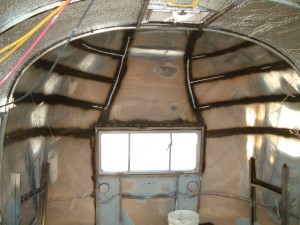
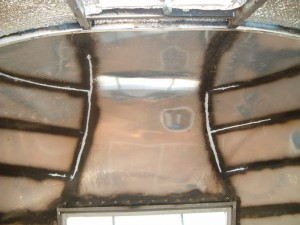
Once all the leak spots were identified with the garden hose, I cleaned them with a wire brush and sealed the areas with Polyurethane sealant.
New Insulation
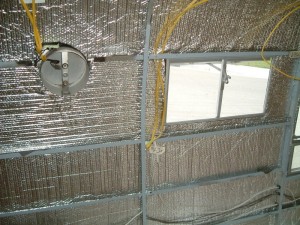
Same area after corrosion cleanup, priming and installation of the Relfectix insulation layer.

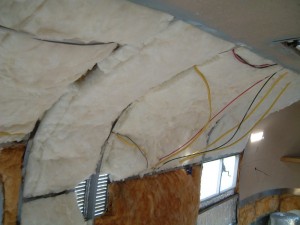
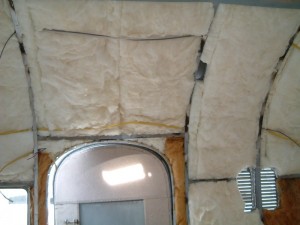
Curbside before cleanup and after, with the Reflectix and fiberglass batt insulation.
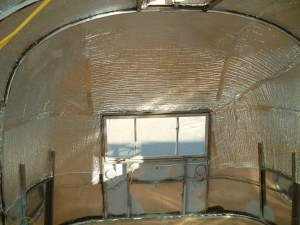
Looking aft with the Reflectix installed once the leaks were fixed.
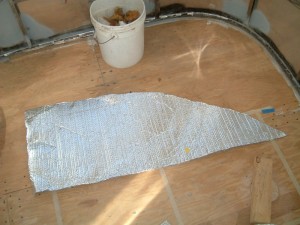
Odd wedge shaped cuts were required to fit the end caps.
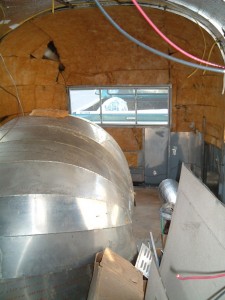
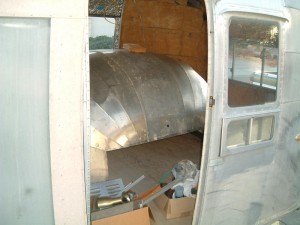
Endcap assemblies are easily removed once the center skins are out, as they are only held is place with a few pop-rivets. The removed sections reminded Krista and I of a Cylon Raider…
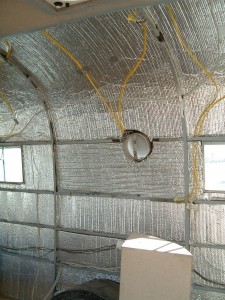
Some of our best work always ends getting covered up.
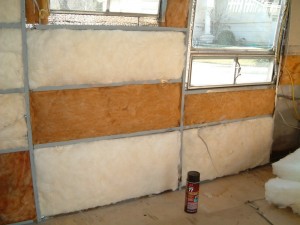
Some of the original fiberglass sections were reusable and I cut them up and used them in bays that had lots of lots of wiring – 1 layer on the outside of the wire, 1 on the inside – sorta like a sandwich with a wire filling.
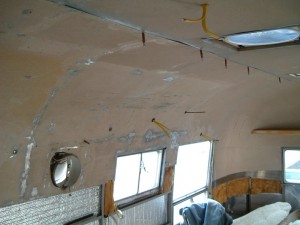
Tacking the skin panels back up.
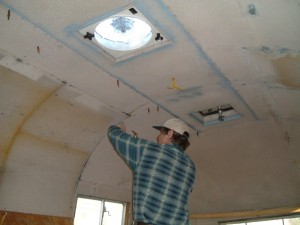
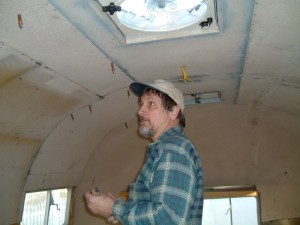
Clecoing the inner skin panels back over the new insulation. Riveting is done with a pneumatic rivet puller from Harbor Freight and 1/8″ x 1/4″ rivets from there too.
More to come
Finished Skin Panels all installed, Zolatone painting the panels ….
The Relfectix insulation is available from Amazon.


