Window Repairs
Part 1 – The Window Frame
The repairs shown here are for the Hehr Hall-Mark 12 (C12XX) windows used from 1961 to 1965. They were a square aluminum framed window with cranks (openers) on the sides.
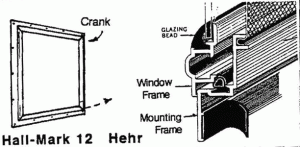
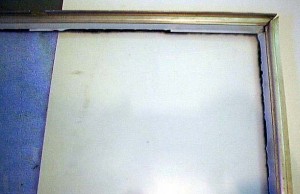
To remove the window, remove the two screws attaching the opener (from inside the trailer), crank open the opener al lthe way. From the outside lift up the window high and then slide the lifter end out the top of the channel.Here is the typical window pane we had. The corner joints were busted, the glass retainer strips were brittle, and the butyl rubber bedding was all dried out.
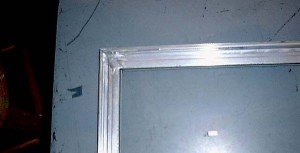
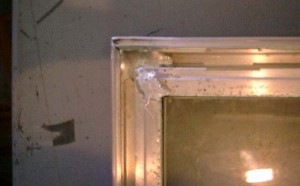
The first step was to reweld the corners with aluminum alloy rod. It is a process that takes time to learn. A good source of the material is Durafix or AlumiWeld. An alternative would be to have a welding shop weld it for you. Click on the image above for a close-up view.
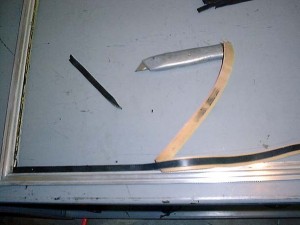
With the pane removed, the old mastic (butyl tape) was replaced with new butyl tape from a glass repair shop. This tape is now available from Vintage Trailer Supply.
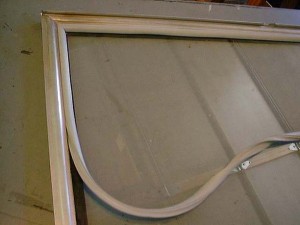
The glass was laid in place. If you have to replace the glass, it is 3/32″ single pane glass. The retaining strip (glazing bead) was worked into place.

It will shrink and harden over one season, so do not stretch tight. Miter the corners snug, and place a dollop of gray silicone sealant in each corner before securing the strips in place. It available from Vintage Trailer Supply.
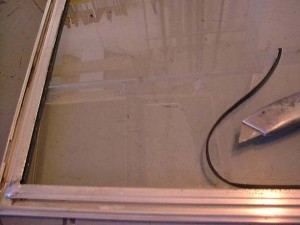
Flip the frame over and trim off the excessive butyl tape.
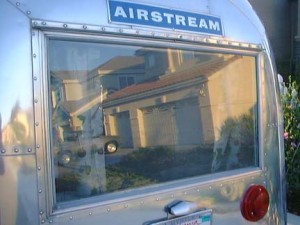
The window back in place. It is removed and installed by removing the openers, tilting up and sliding to the side. A single short machine screw in the center retains it (via a slot in the frame).

There is a 1/4″ bulb seal with a 1/4″ T-flange that serves as weather-stripping in the trailer window frame. Vintage Trailer Supply makes a perfect replacement. Don’t put sealant into the slot. At only 1/16th inch deep, you will never get it out, effectively ruining the slot.
Next we will talk about the window openers (cranks)…
Part 2 – 1960’s Window Operators (Openers)
The Original Hehr operators have a cast pot metal gear that strips out, causing the crank to fail. I kept all my old ones in hope of finding a way to replace or recast the gear teeth back on at a later date. In the mean time, replacement with a new generic unit is the only option. I obtained them from Blaine Window Hardware, and the part # is 00821-7. They are not cheap at $18, but inoperable windows aren’t an option either.
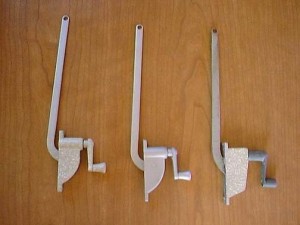
On the left is a replacement Blaine opener with the Zolatone texture finish applied; the center opener is the Blaine with just the base coat of the Zolatone; the right opener is a Hehr original with the Zolatone finish restored.
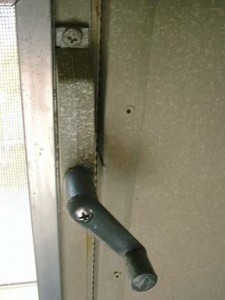
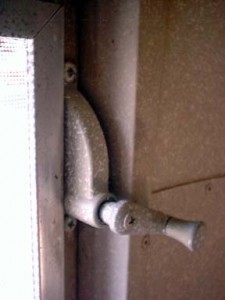
The top opener is original, the bottom a replacement Blaine unit. You can see the Hehr logo on the crank.
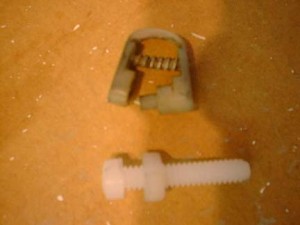
These are the sliders that the arm of the opener attach to that slide in the channel in the window frame. The upper is an original, and the lower is a replacement made using a 10-24 fillister head nylon machine screw & nut. Sand the screw head down on two sides to 1/4″ and the nut on two of the flats to 5/32″. Cut the screw length to the inside width of the frame track.
To reinstall, insert the rod end of the opener through the slot by the window. Insert the hole in the opener rod end over the screw shaft & install the nut. Place this new slider into the top of the frame track and then attach the opener to the window with the two screws. Lube the slider and track with a little Lithium grease.
August 2006: GREAT NEWS! Exact Replacements are now available fromn Vintage Trailer Supply.
Next we will talk about the curtains and tracks…
Part 3 – The Curtains & Tracks
The curtain is just as important as the window itself. In the ’60’s there were 5 parts to the curtain assembly as installed at the factory.
- The Curtain Track – a C shaped piece of aluminum at the top of the window opening
- The plastic Track Sliders
- The curtain track snaps
- The bottom retainer snaps and cord
- The curtain itself
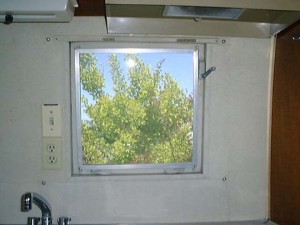
In the above image the “C” track is at the top with the Sliders in it. Both of these were made by Kirsch. The snaps at either end of the track mate with snaps on the curtain holds the ends in place. The snaps at the bottom secure the hold back cord that keeps the curtains up against the curvature of the sides.

The sliders were made by Kirsch, and some older Airstream dealers still have a supply. They break frequently, but I have developed a quick permanent repair. Click on the image above for a “how to”. Vintage Trailer Supply aslo has some modern replacements that work.
These lined small-pleat curtains were made by Krista following a pattern. All the snaps shown earlier are hidden from view. The bottom tieback and snaps are hidden under the curtain bottom, and the vinyl cord tieback goes though small loops sewn into the bottom of the curtain.
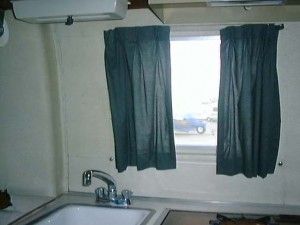
At the bottom of the window you can see the hold back cord used to keep the curtain back against the curvature of the sides of the walls. Compare this to the image at the top of the page. We built replacements using nylon clothesline cord and snaps from the hardware store.
Lastly we will talk about window screens (Coming Soon)…


