Axle
When I started restoring the Flying Cloud I planned on keeping the original axle, converting the old hydraulic brake system to electric. I documented the conversion of those brakes on this site. Fast forward to 2007, and with the thought of 50 year old steel, along with the desire to raise the trailer up a little to get more ground clearance, the decision was made to replace the old HADCO axle with a new Axis 5200# straight axle, which netted a 2 1/2 ” raise in frame height.
Original HADCO axle
– click on any image to enlarge –
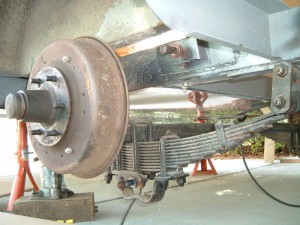
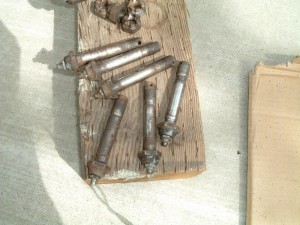
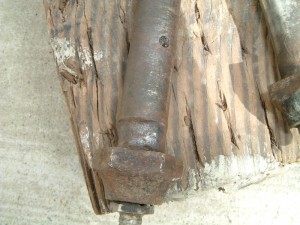
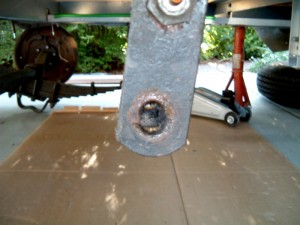
The original reverse drop axle and leaf springs (upper left). Single axle trailers of old had leaf spring eye end spacings much farther apart than modern leaf spring axles, as most modern trailers have dual axles. This Hadco axle had 36″ eye to eye spacing. Welding on new hangers for new leaf springs would have resulted in the frame load distribution points of the axle being reduced by 10″ since the longest new trailer leaf spring available is 26″, putting a more concentrated stress on the frame I didn’t think was wise. The only other solution would be to weld on long angle iron frame stiffeners, much like a modern torsion axle has to distribute the load along the frame. I chose to reuse and rebuild the existing leaf spring after having it inspected, rebuilding the hanger hardware, and then installing the new axle on it.
Removing the shackle bolts revealed that some miles had been put on without any grease or maintenance, resulting in a very unsafe condition.
Axle Removal
The old axle drops out rather easily, but be prepared and have all the parts you need on hand. A little pre-task exploration will tell you the condition of the hangers, shackle links, bolts and eye-end bushings. The old axle was 2 1/4″ square solid steel, the new axle is 3″ round tube, stronger and lighter.
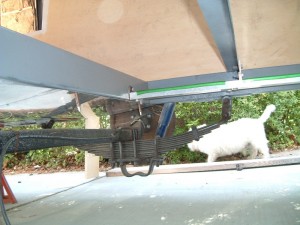
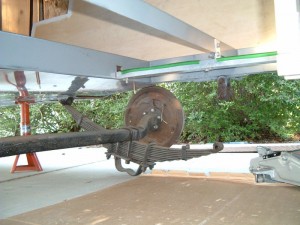
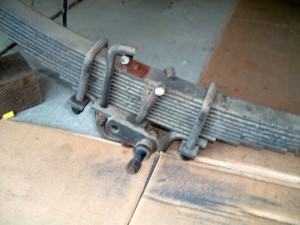
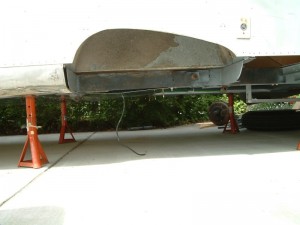
The old hanger bolts were cut off – too rusted to unscrew the nuts. Jack stands hold up the trailer – lots of room to work now! Info on rebuilding the shackles follows below.
Axle Installation
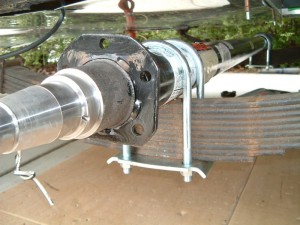
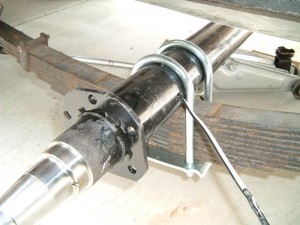
I ordered a 5000# rated axle from Axis. Hub to hub dimension on my trailer was 79 1/2″ which seems to be standard on this era trailer, but measure yours. You need to get the hanger bolts. The Axis axle comes with a built-in brake wire to run to the other side – a nice feature.
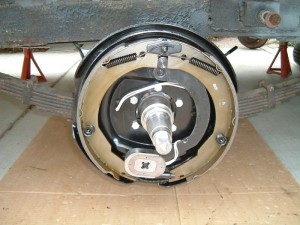
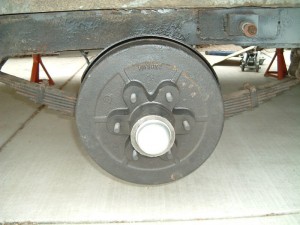
The backing plates and then the hubs go on. I got the Easy-lube option with a zerk fitting in the spindle tip that injects new grease into the bearings without having to remove them, so you can annually repack the bearings without disassembly.
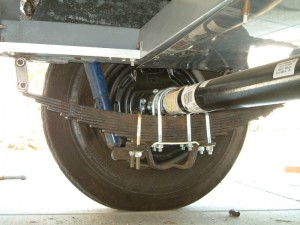
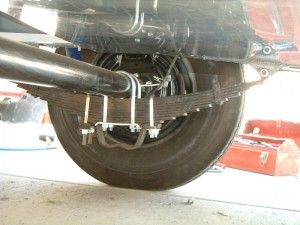
Completed installation with the skid hoop and lower shock mounts bolted to the leaf spring assembly with hanger bolts.
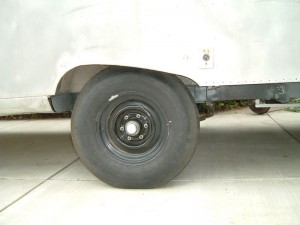
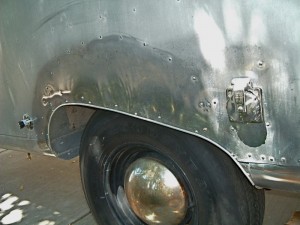
The 2 1/2″ of extra height looks fine, and makes tire changing much easier. (Bottom) the wheel well opening is trimmed out with aluminum angle brackets and J-strip.
Shackle Repair
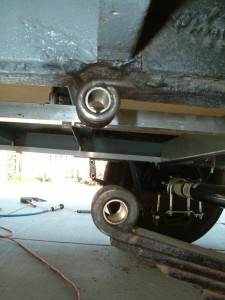
The top picture shows the two types of bushings encountered. The upper bushing is a new spring steel and the lower is a new bronze bushing usually found in the eye ends. All are for 9/16″ shackle bolts, and vary only in the OD of the bushings. The originals here had worn through, or were severely elongated.
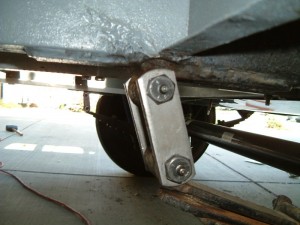
On the bottom is the completed aft shackles with new links and “wet” (Zerk fitting greaseable) shackle bolts.
The axle from Axis Products cost $230 and shipping was another $156 to California.
The hanger and shackle hardware and bushings came from Eastern Marine and Oakland Rim and Wheel, and added about another $80.
For additional information on other axle options, I’ve provided some additional information on a Restoration Resource page.


